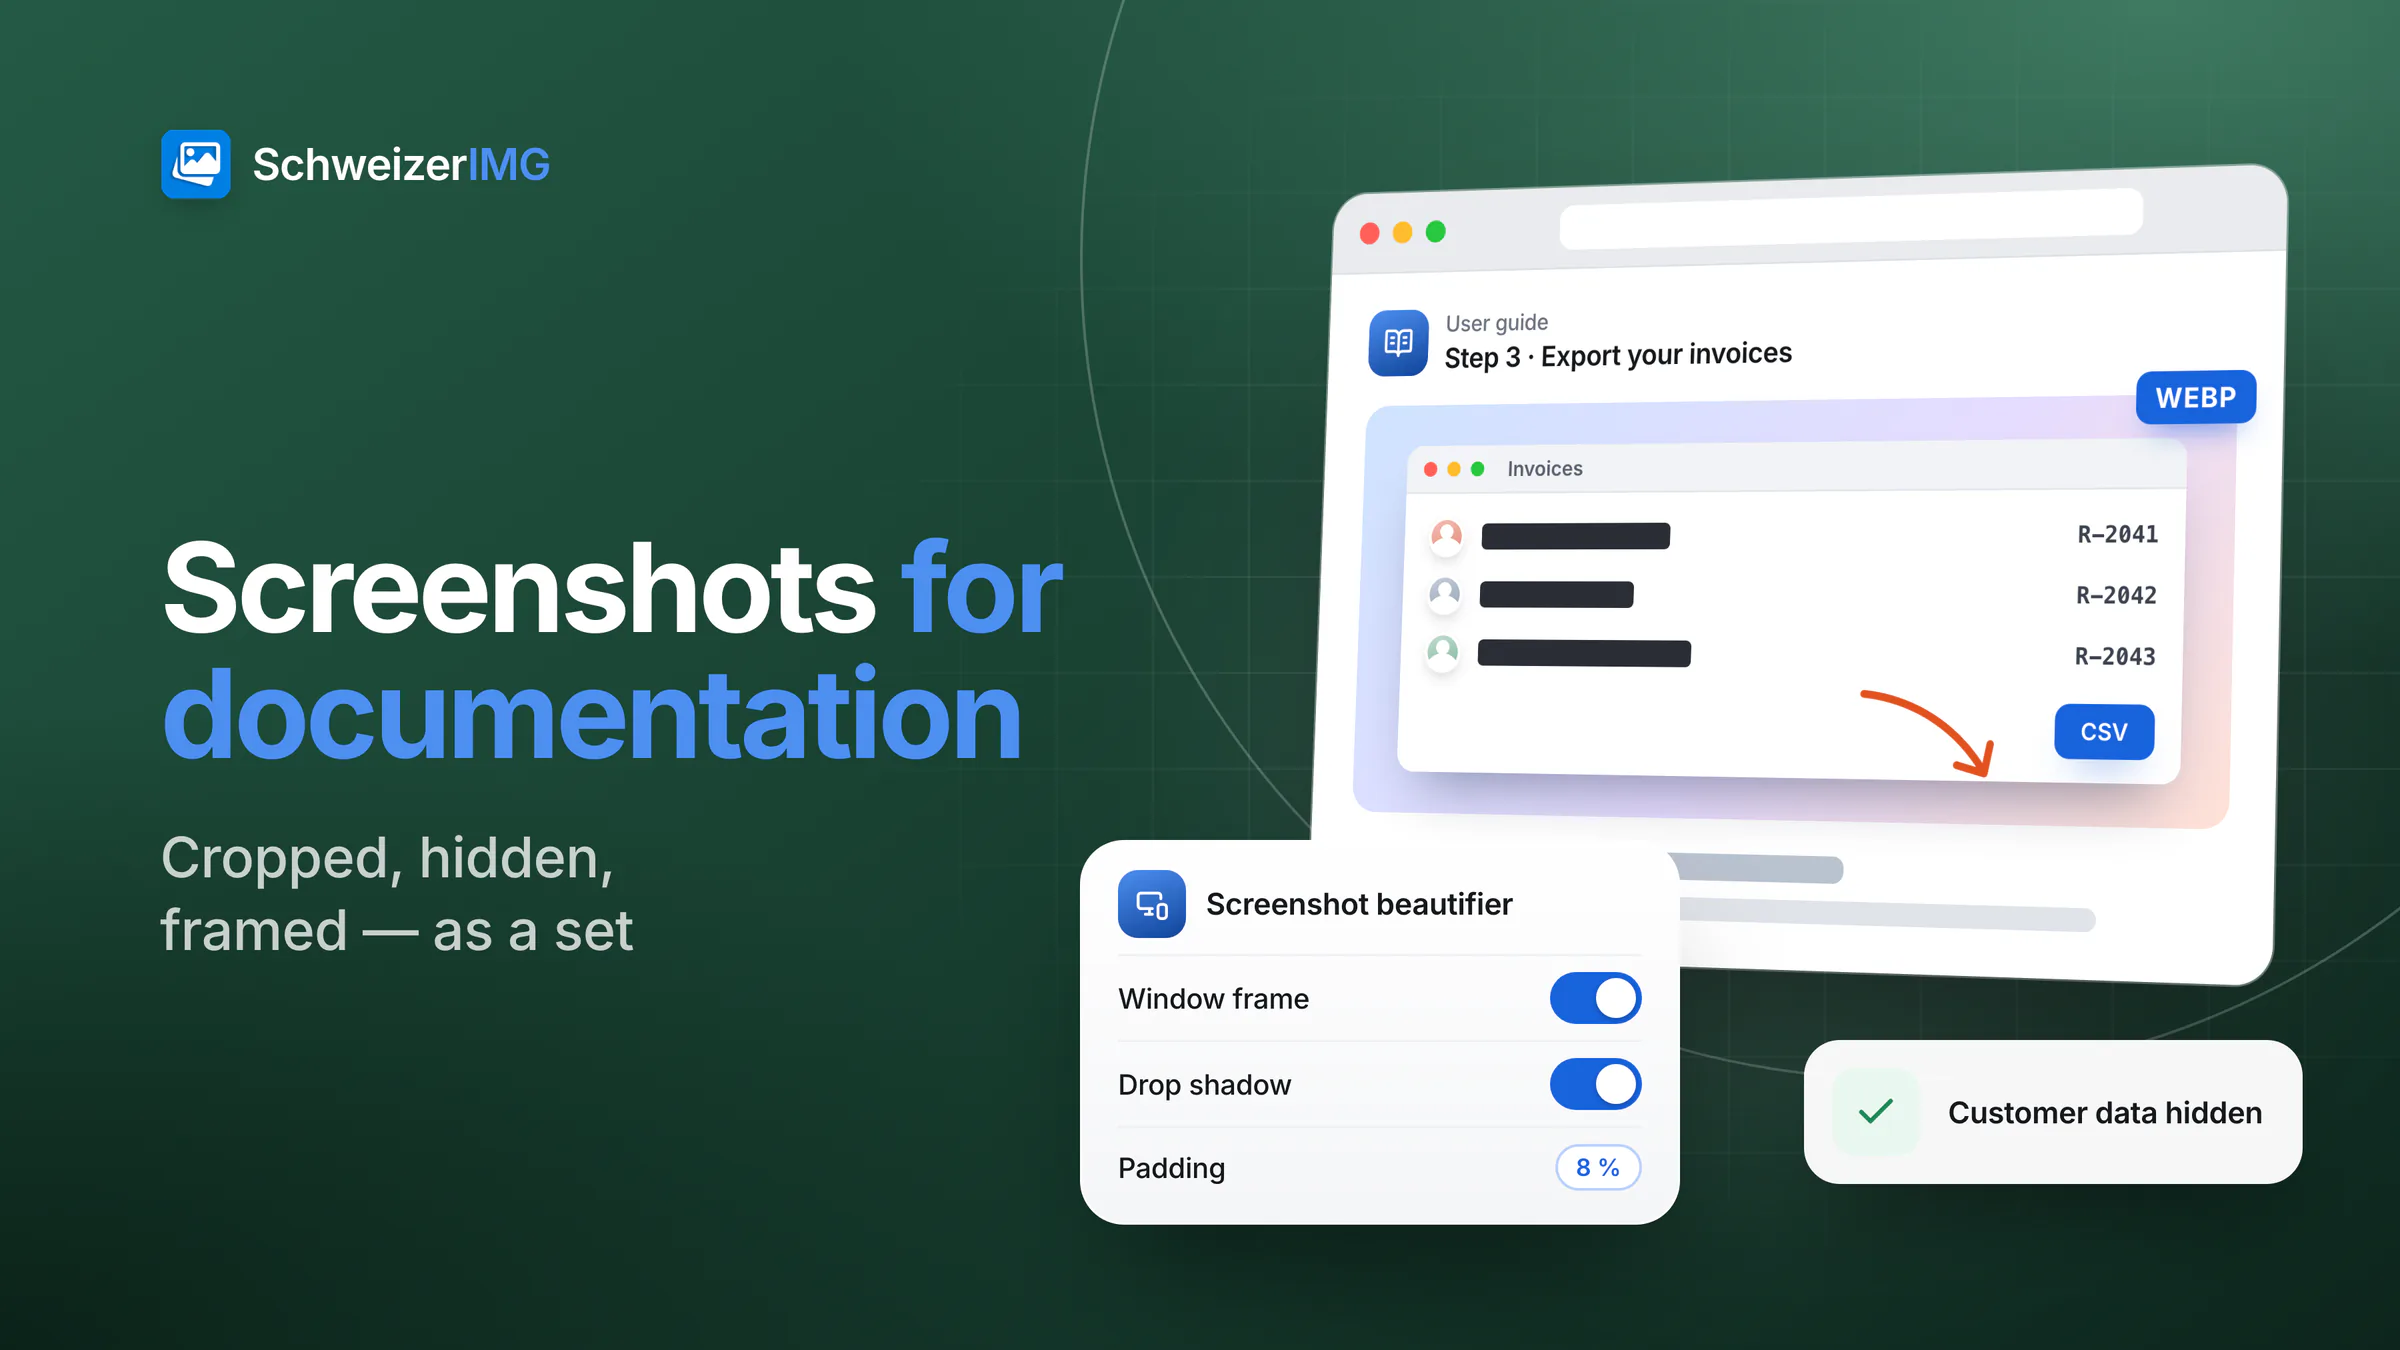
Good documentation shows rather than tells. A user guide, a help centre article, an internal how-to or a support ticket is easier to follow when its screenshots look like a set: cropped to the part that matters, the same width, the same frame, no stray customer names — and files small enough to load quickly. The work repeats with every release, so a workflow that handles a whole batch at once saves real time.
This guide shows such a workflow with SchweizerIMG. Every step runs in your browser, so screenshots of internal systems and customer records never leave your device — why that matters is explained in browser tools vs. upload websites. Agencies documenting client projects will find more in SchweizerIMG for agencies.
Before you start: a house style for screenshots
- Use demo data. The surest way to keep customer data out of screenshots is not to capture it: a test account with fictional names such as Anna Muster and Muster AG, and example.ch addresses.
- Fix one width. Pick the width your documentation shows images at, and keep a larger version if your readers use high-density screens. All screenshots of a guide get the same width.
- Decide on a frame. With a window frame and shadow, or plain on the page — either works, as long as every screenshot in the guide looks the same.
- Capture cleanly. Turn on do-not-disturb, close unrelated tabs and use the same window size for a series. What is never on screen needs no blurring.
Screenshots for documentation: the workflow
Each step below is one tool, applied to the whole set in one run — and one run is one operation, however many files it contains. You can paste a screenshot straight from the clipboard, and Continue with another tool passes the results on without downloading them in between. See processing many images at once and continuing with another tool.
- 1
Crop to the relevant area
Use Crop and keep the part of the screen the step is about, with just enough context to find it. The crop area you draw on the first image applies, in pixels, to every image of the run — ideal for a series taken from the same window at the same size.
- 2
Hide customer data
Use Blur or pixelate to cover names, e-mail addresses, numbers or avatars. For text, a solid colour is the safest choice. The areas you mark apply to every image of the run, so check each result. See blurring faces and details.
- 3
Add arrows and text (optional)
The image editor (Apply edits) adds text, shapes, arrows, highlights and drawing to one image at a time and exports it at full resolution; it can also crop and hide areas in the same pass. See using the image editor.
- 4
Give every screenshot the same size
Use Resize with “Width and height” (aspect ratio kept) or “Longest side”. With “Enlarge smaller images” set to “Never”, small screenshots stay sharp instead of being blown up.
- 5
Frame them (optional)
Screenshot beautifier places each image on a background with padding, rounded corners, a soft shadow and an optional window frame with a title. The same settings give the whole set the same look.
- 6
Convert and compress
Use Convert format to PNG or WebP and Compress image to make the files smaller — it never returns a file larger than the original. See compressing and converting.
A tidy frame with the Screenshot beautifier
- Background: a gradient, a colour, an image of your own or transparent — a transparent background lets the frame sit on any page colour, light or dark.
- Padding, corners and shadow: in per cent of the shorter side, so screenshots of different sizes get proportionally the same frame.
- Window frame: none, an operating-system style or a browser frame, in light or dark colours, with an optional window title.
- Aspect ratio: the canvas grows to a fixed ratio such as 16:9, handy for slides and article headers.
The beautifier frames a screenshot; it doesn't hide anything inside it — crop and blur first. Which plans include Screenshot beautifier is shown on the pricing page.
PNG or WebP for documentation screenshots?
| Format | Good for | Keep in mind |
|---|---|---|
| PNG | Interfaces, text and sharp edges; accepted by almost every documentation, wiki and ticket system | Lossless, so files are larger; “Reduce to a colour palette — only when it looks identical” can shrink them without visible change |
| WebP | Help centres and websites, where smaller files load faster | Lossless or lossy; check that your documentation system accepts it |
| JPG | Screenshots that are mostly photos | Leaves visible artefacts around letters and thin lines — avoid it for interface screenshots |
Compress image with the mode “Lossless only” keeps every pixel of an interface screenshot and still often makes the file smaller. Many tools also ask what to do with the metadata of their results; by default they keep it without location and device details.
Screenshots for support tickets
- Show the error and its context. Crop to the message plus the field or button it belongs to — not the whole screen.
- Look at the edges. Sidebars, recent-items lists and chat panels often show other customers' names; cover them.
- Check the address bar. Links can carry record IDs, internal server names or session tokens; crop the bar away or cover it.
- Watch for notifications. A message preview that slid in at the wrong moment is easy to miss.
The full checklist of what a screen can give away — and why a crop is not always gone — is in what screenshots reveal.
Frequently asked questions
What width should screenshots in documentation have?
There is no universal number: use the width of your documentation's content column, or a multiple of it for high-density screens. What matters most is that every screenshot of a guide is resized to the same width.
Can I hide the same area on many screenshots at once?
Yes. In Blur or pixelate, the areas you mark apply to every image of the run — reliable when the screenshots were taken from the same window size and position. Check each result before you publish it.
Can I add arrows and text to a screenshot?
Yes, in the image editor (Apply edits): text, shapes, arrows, highlights and drawing, one image at a time, exported at full resolution.
Should documentation screenshots keep their metadata?
Rarely. A screenshot carries little metadata, but there is no reason to publish the device or software that made it. Remove metadata removes it losslessly, without touching the pixels.
Ready for the next release notes? Start with the create tools and the optimise tools, read the image editor guide, or create a free account.
General information
This page is general information and marketing content, not legal or professional advice. It simplifies how documentation, wiki and ticket systems handle images, which differs between systems and changes over time. Screenshots of customer records can contain personal data under the Swiss Federal Act on Data Protection (FADP / nDSG); for your own situation, check your system's requirements or consult a qualified professional.