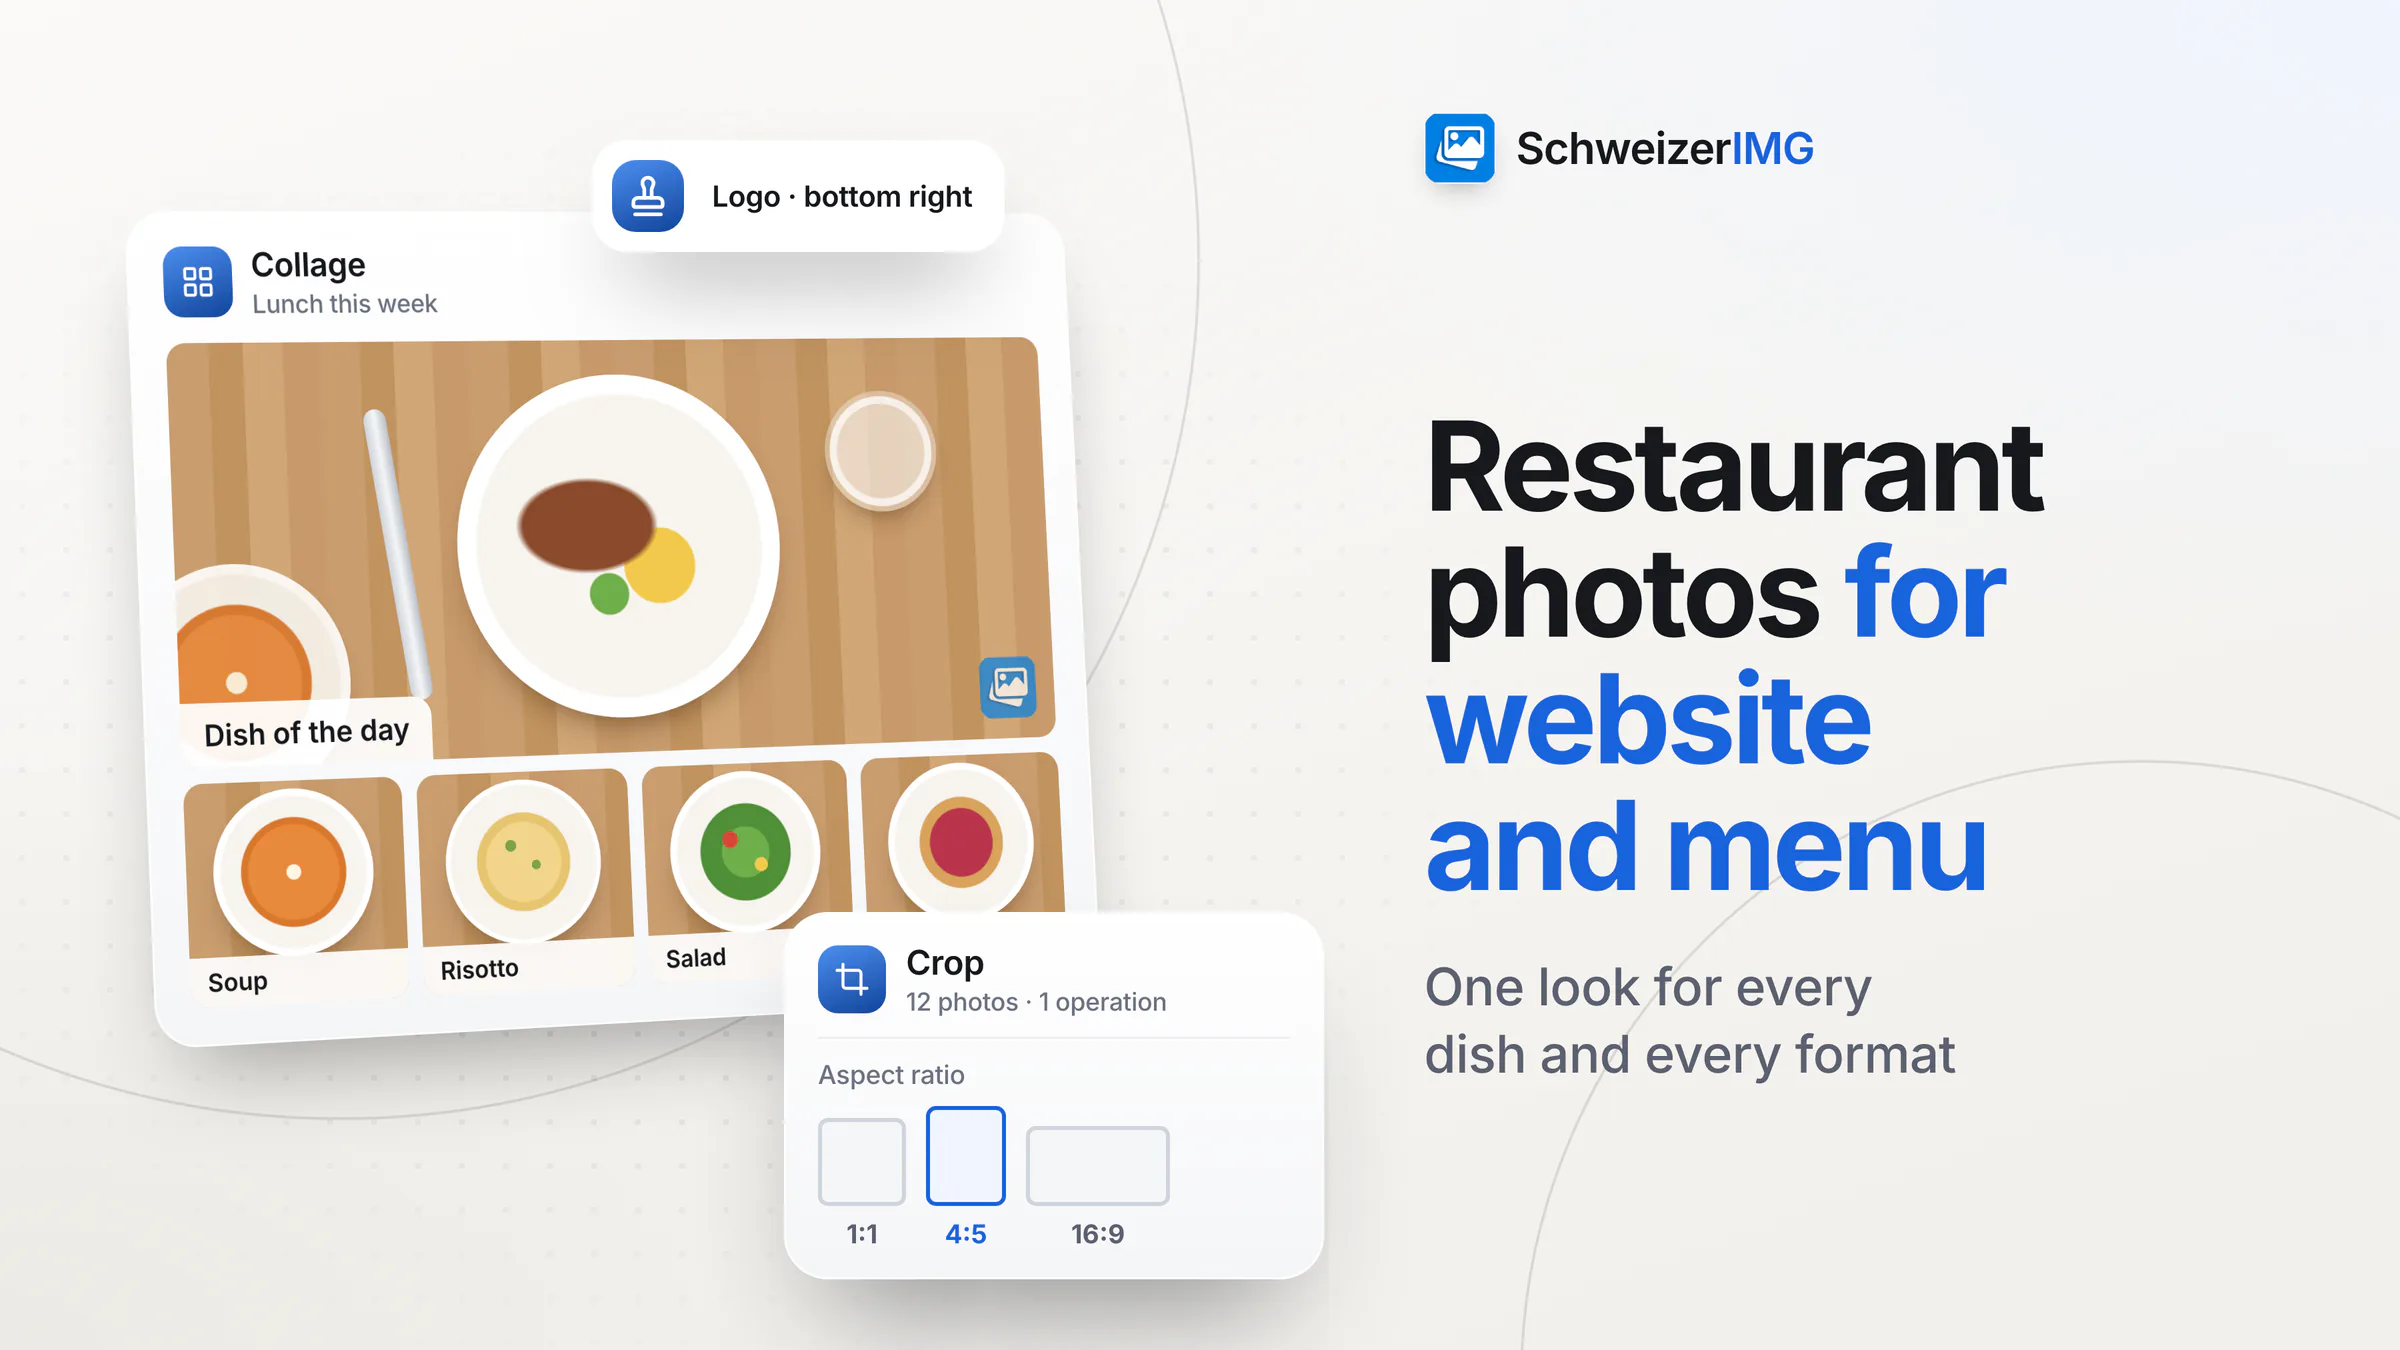
To prepare restaurant photos for your website and menu, give the whole set one look with Adjust colours and Filters, crop it to the few ratios you actually use with Crop — square, 4:5 portrait and 16:9 — lay out menu boards and daily specials with Collage, place a small logo with Watermark, and create the website versions with Optimise for web.
Everything runs in your browser, so photos of a new menu or a room still being renovated are not uploaded to us before you are ready to show them. Guests in the background need a moment's thought before publishing — see below. More for restaurants, hotels and tourism: SchweizerIMG for hospitality.
Before you start: a short shot list
- One place, one light. Photograph dishes on the same table near a window, at the same time of day. Daylight from the side makes food look natural; the warm ceiling lights of the dining room colour everything orange.
- One angle per type. Flat dishes and bowls from above, burgers, cakes and glasses from the side at table height. Keep to it for the whole menu.
- Rooms before opening. The dining room, the terrace and the hotel rooms look tidiest — and show no guests — before service.
- Keep the originals. Process copies; the full-size photos stay for print and for next season's crops.
Restaurant photos for website and menu, step by step
Each step is one tool applied to all photos in one run, and one run is one operation however many photos it holds — see processing many images at once. Continue with another tool passes the results straight to the next tool without downloading them in between (continuing with another tool). The tools are on the features page.
- 1
Even out the colours
Adjust colours applies the same corrections to every photo of a run: White balance towards cooler for photos taken under warm lamps, Exposure for a dark corner, Highlights and shadows for a bright window behind a plate, a little Vibrance for vegetables and herbs. Auto-enhance balances each photo on its own — useful for a mixed set, but the photos then match less closely.
- 2
Choose one look (optional)
Filters gives the set a style — for example Warm or Crisp — at an Intensity you choose. Keep it low for food: a strong look makes dishes appear in colours they don't have on the plate.
- 3
Crop for each place
Crop with the Aspect ratio you need. Run each ratio as its own run from the same corrected set: one for square tiles, one for 4:5 portrait posts, one for a 16:9 website header. The Position applies to every photo of the run, so dishes that sit off-centre go into a separate run.
- 4
Add a small logo (optional)
Watermark with Logo image, a small Size, a reduced Opacity and Position “Bottom right” places your logo the same way on every photo. For your own website you can leave it out; for photos that travel — press, partners, booking platforms — a discreet mark helps.
- 5
Make the website versions
Optimise for web creates several widths in AVIF, WebP and JPEG with ready-to-paste HTML, in one run. Which plans include Optimise for web is shown on the pricing page.
- 6
Remove the metadata
Remove metadata with “Private details only” takes out the location, camera serial numbers and contact details losslessly.
A note on the Image editor: it works on one image at a time — good for the one hero picture of your homepage with a careful crop and a short text. It does not keep an edit to reuse on other photos, so for a series the batch tools above are the way to keep everything the same.
Which crop for the website, the menu and social posts?
Every place shows images in its own shape. Websites, booking platforms and social networks publish their own recommendations and change them from time to time — check the current values. As a starting point:
| Place | Common shape | How |
|---|---|---|
| Website header, hotel room gallery | 16:9 or 3:2 landscape | Crop with 16:9 or 3:2 |
| Online menu, dish tiles | 1:1 (square) or 4:3 | Crop with 1:1 |
| Feed posts on social networks | 1:1 or 4:5 portrait | Crop with 4:5 |
| Stories and full-screen formats | 9:16 portrait | Pad with “Blurred image”, so a landscape dish photo is not cut |
| Printed menu or table card | A4, A5 and similar | Crop with “A4, A3… (portrait)”, at full resolution |
Cropping cuts pixels away; padding adds space instead. When to use which is explained in resize, crop or pad.
A menu board or a daily specials post with Collage
Collage arranges several photos on one canvas. For a lunch menu, “Large on top, 4 small” puts the dish of the day above four others; a 4:5 or square Canvas size suits social posts, “A4, A3… (portrait)” a printed board. Each cell takes a caption — the dish name — and the collage a Title, such as “Lunch this week”. “Fill the cell (crop)” gives clean edges; “Fit inside the cell (whole photo)” keeps every plate complete. Read prices and allergen notes twice before you print: the collage turns them into pixels, and a typo can only be fixed by making it again.
Guests and staff in the photo
A full dining room looks inviting, but the people in it have not necessarily agreed to appear on your website. Photograph rooms before service, ask regulars who would like to be in a picture, and ask staff before their portrait goes online. Where a guest is recognisable in the background, crop the photo or make the face unrecognisable with Blur or pixelate — the workflow is in blur faces and number plates, and how consent works in photos of people in Switzerland.
Files for the website, the menu and print
- Your website: the Optimise for web set. Why light images matter for loading time is covered in optimising images for your website.
- Online menu systems and booking platforms: usually JPG at the size they ask for — Resize with “Longest side”.
- Print: the full-resolution crop, without extra compression; the print shop says which size and format it needs.
- Social posts: JPG in the crop for that place; the network compresses the image again on upload.
The formats themselves are compared in WebP, AVIF, JPEG or PNG. Results exist only in the open tab until you download them; per run, our server receives only which tool ran and whether it finished — details on the security page.
Frequently asked questions
Can I apply the same edits to all my restaurant photos at once?
Yes, with the batch tools: Adjust colours, Filters, Crop and Watermark each apply the same settings to every photo of a run. The Image editor works on one image at a time.
How do I make a menu board from several dish photos?
With Collage: choose a layout such as “Large on top, 4 small”, a canvas size, a caption per photo and a title. Save it at full size for print and in a smaller version for the website.
Should restaurant photos carry a watermark?
On your own website it is rarely needed. For photos you hand to press, partners or platforms, a small logo at low opacity keeps the source visible; check first whether the platform allows logos in images.
Ready to prepare the new menu photos? Create an account.
General information
This page is general information and marketing content, not legal or professional advice. It simplifies how websites, booking platforms and social networks display images, which differs between services and changes over time, and it does not assess whether a photo showing guests or staff may be published. For your own case, check the platforms' current requirements or consult a qualified professional.