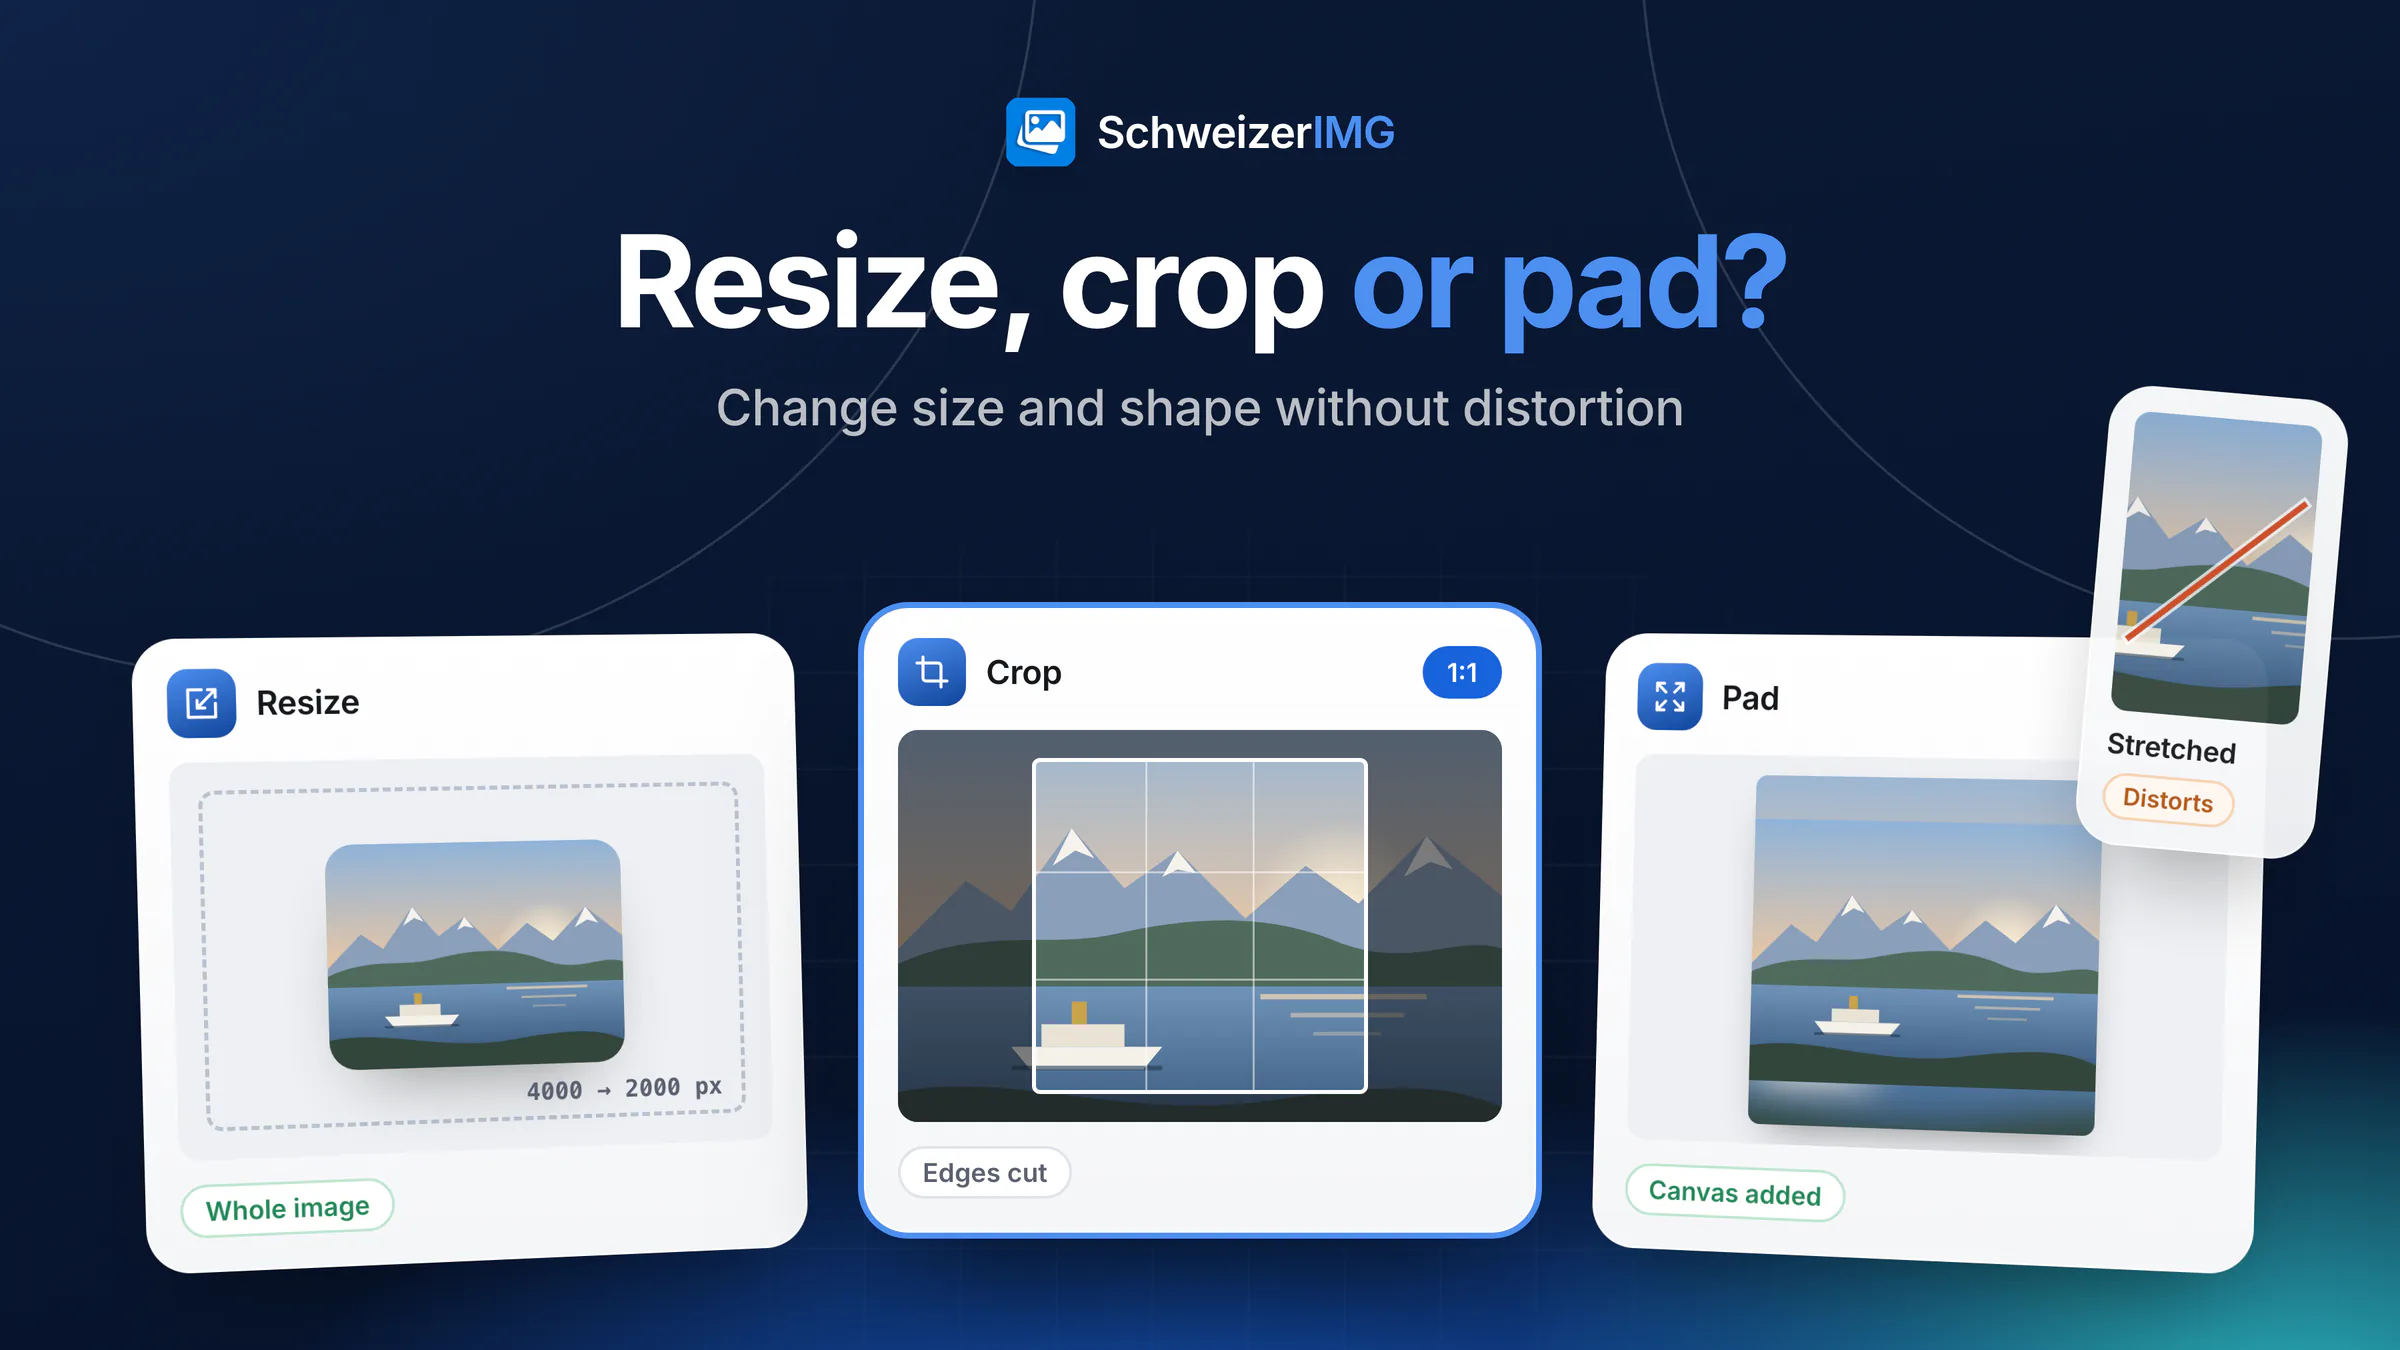
Resizing changes how many pixels an image has and keeps the whole picture in the same shape. Cropping cuts away the edges to change what the picture shows — and often its shape. Padding adds canvas around the image to reach a new shape without losing anything. A fourth way, stretching width and height independently, also changes the shape, but by distorting the picture — and is almost never what you want.
In short: resize to make an image smaller or bring it to a pixel size, crop to change the framing or reach a ratio, pad when the image must reach a ratio but nothing may be cut. In SchweizerIMG these are Resize, Crop and Pad; Split into grid is a fifth relative that cuts one image into tiles. All of them run in your browser, on whole batches where it makes sense.
Resize: the whole image, a different number of pixels
Resize keeps everything in the picture and changes its pixel dimensions. Under “Resize by” you choose what you know: “Longest side” or “Shortest side” for a mixed set of portrait and landscape photos, “Width and height”, “Percentage”, “Print size” in centimetres, millimetres or inches at a resolution in dpi, or “File size” for a target size. Resampling uses Lanczos by default, the sharpest method; Sharpen after resizing restores crispness after a strong reduction.
Enlarge smaller images is set to “Never” by default. Enlarging adds pixels but no detail: a small photo blown up looks soft, whichever tool does it. SchweizerIMG has no AI upscaling that invents detail.
Fit inside a box or fill a box?
Two modes target a box of a given width and height. “Fit inside a box” scales the image until it fits completely — the result may be narrower or lower than the box, and nothing is cut. “Fill a box (crop)” scales it until the box is covered and cuts off what overflows, at the Crop position you choose — the result is exactly the size of the box. Filling a box is resizing and cropping in one step.
Crop: cut away what you don't need
Crop removes pixels at the edges. You draw the area yourself or pick an Aspect ratio — “Free”, “Original”, 1:1, 4:3, 3:2, 16:9, 4:5, 9:16, 21:9 or the A-series paper formats — and a Position: one of nine points, or a detail-based position that moves the crop to the most detailed part of each image. The Shape can also be a circle or an ellipse, with a background of your choice outside it.
For JPEG files, Lossless JPEG crop “When possible” crops without re-encoding wherever the area starts on the file's block grid; “Snap to the block grid” moves the edge by a few pixels so the crop is always lossless. What is cut away is gone from the new file, so keep the originals.
Pad: add canvas instead of cutting
Pad changes the canvas, not the picture. Under “Make” you choose Square, an Aspect ratio, Margins on each side, or a Canvas size (a smaller canvas than the image crops it). The Image position places the picture on the new canvas. The new area is filled with a Colour — white by default — left Transparent, or filled with a Blurred image: a blurred, enlarged copy of the picture itself, a common look for portrait formats.
The image's own pixels stay unchanged. Padding makes the file larger in pixels, so a Resize afterwards brings it to the size you need.
Stretching: why it distorts
When both width and height are forced to values in a different ratio — Resize with “Width and height” and Keep aspect ratio switched off — the picture is squeezed or pulled: round plates become ovals, faces look wider, logos and text are squashed. People notice even a small distortion in faces and circles. Keep the aspect ratio on; with only one of the two values entered, the other follows. When a place needs an exact size in another shape, use “Fill a box (crop)”, or Pad followed by Resize.
Split into grid: one image, many tiles
Split into grid cuts one image into tiles — by Rows and columns, by Tile size, or by Paper size (poster) with an unprinted margin and an overlap for gluing the sheets. Typical uses: a panorama spread over several posts of a profile grid on a social network, a poster printed on A4 sheets, a sprite sheet for a game or a website. It takes one image per run and returns many files; nothing is distorted.
Resize vs crop vs pad side by side
| Method | Keeps the whole image? | Distorts? | Changes the aspect ratio? | Typical use |
|---|---|---|---|---|
| Resize (ratio kept) | Yes | No | No | E-mail, website widths, upload limits |
| Resize, “Fit inside a box” | Yes | No | No | A maximum size for a portal or a form |
| Resize, “Fill a box (crop)” | No — the overflow is cut | No | Yes, to the box | Exact thumbnails, shop squares from centred products |
| Crop | No | No | Yes (or keeps it) | Framing, banners, profile pictures, print ratios |
| Pad | Yes | No | Yes | Squares for tall products, portrait formats from landscape photos, a white border |
| Stretching (ratio off) | Yes | Yes | Yes | Almost never |
| Split into grid | Yes, across the tiles | No | Each tile has its own | Posters on several sheets, profile grids, sprite sheets |
Which one for which job?
- Smaller files for e-mail or a website: Resize with “Longest side”. For responsive website images in several widths, see optimising images for your website.
- Square shop images: Crop to 1:1 when the product sits centred with space around it, Pad with “Square” and white for bottles, scarves and frames that must not be cut — the workflow is in product photos for your online shop.
- Website banners and headers: Crop to 16:9 or 21:9 and choose the position; “Fill a box (crop)” when the theme asks for exact pixels.
- Profile pictures: Crop to 1:1, with the Circle shape if the picture itself should be round.
- Portrait formats from a landscape photo: Pad with an aspect ratio of 9:16 or 4:5 and a blurred image — nothing is cut.
- Prints: a 10 × 15 cm print is 2:3, A4 follows the A-series ratio. Crop to that ratio, or Pad with white for a border; then Resize with “Print size” at the resolution your print shop asks for.
- A poster on several sheets: Split into grid with “Paper size (poster)”.
Social networks, shop systems and print shops publish their own recommended sizes and change them from time to time — use their current values. A full example with several of these steps is restaurant photos for the website and menu.
In which order?
Crop first, then resize, so the crop works with the full resolution. Pad, then resize to the exact target. Convert or compress last — formats are compared in WebP, AVIF, JPEG or PNG. Continue with another tool passes the results from one step to the next without downloading them; see continuing with another tool. The tools are in Transform and Optimise.
Frequently asked questions
Does resizing an image reduce its quality?
Making it smaller removes pixels, but on screens of the target size the difference is usually not visible. Making it larger adds no detail and looks soft. Saving as JPEG again adds a little compression loss each time, so resize from the original.
Should I crop or resize first?
Crop first. The crop then has every pixel of the original to work with, and the resize brings the result to its final size.
How do I make an image square without cutting it?
With Pad and “Square”: space in a colour of your choice, transparency or a blurred copy of the image is added to the shorter side.
How do I resize an image without stretching it?
Leave Keep aspect ratio on, or use “Longest side”, “Fit inside a box” or “Fill a box (crop)”. None of these distorts the picture.
Your images are processed in your browser and are not uploaded to us — details on the security page. Which plans include each tool is shown on the pricing page. To try the three on your own photos, create an account.
General information
This page is general information and marketing content. It simplifies image formats, aspect ratios and the size recommendations of platforms and print shops, which differ between services and change over time; for a specific job, check the current requirements of the service or print shop you use.