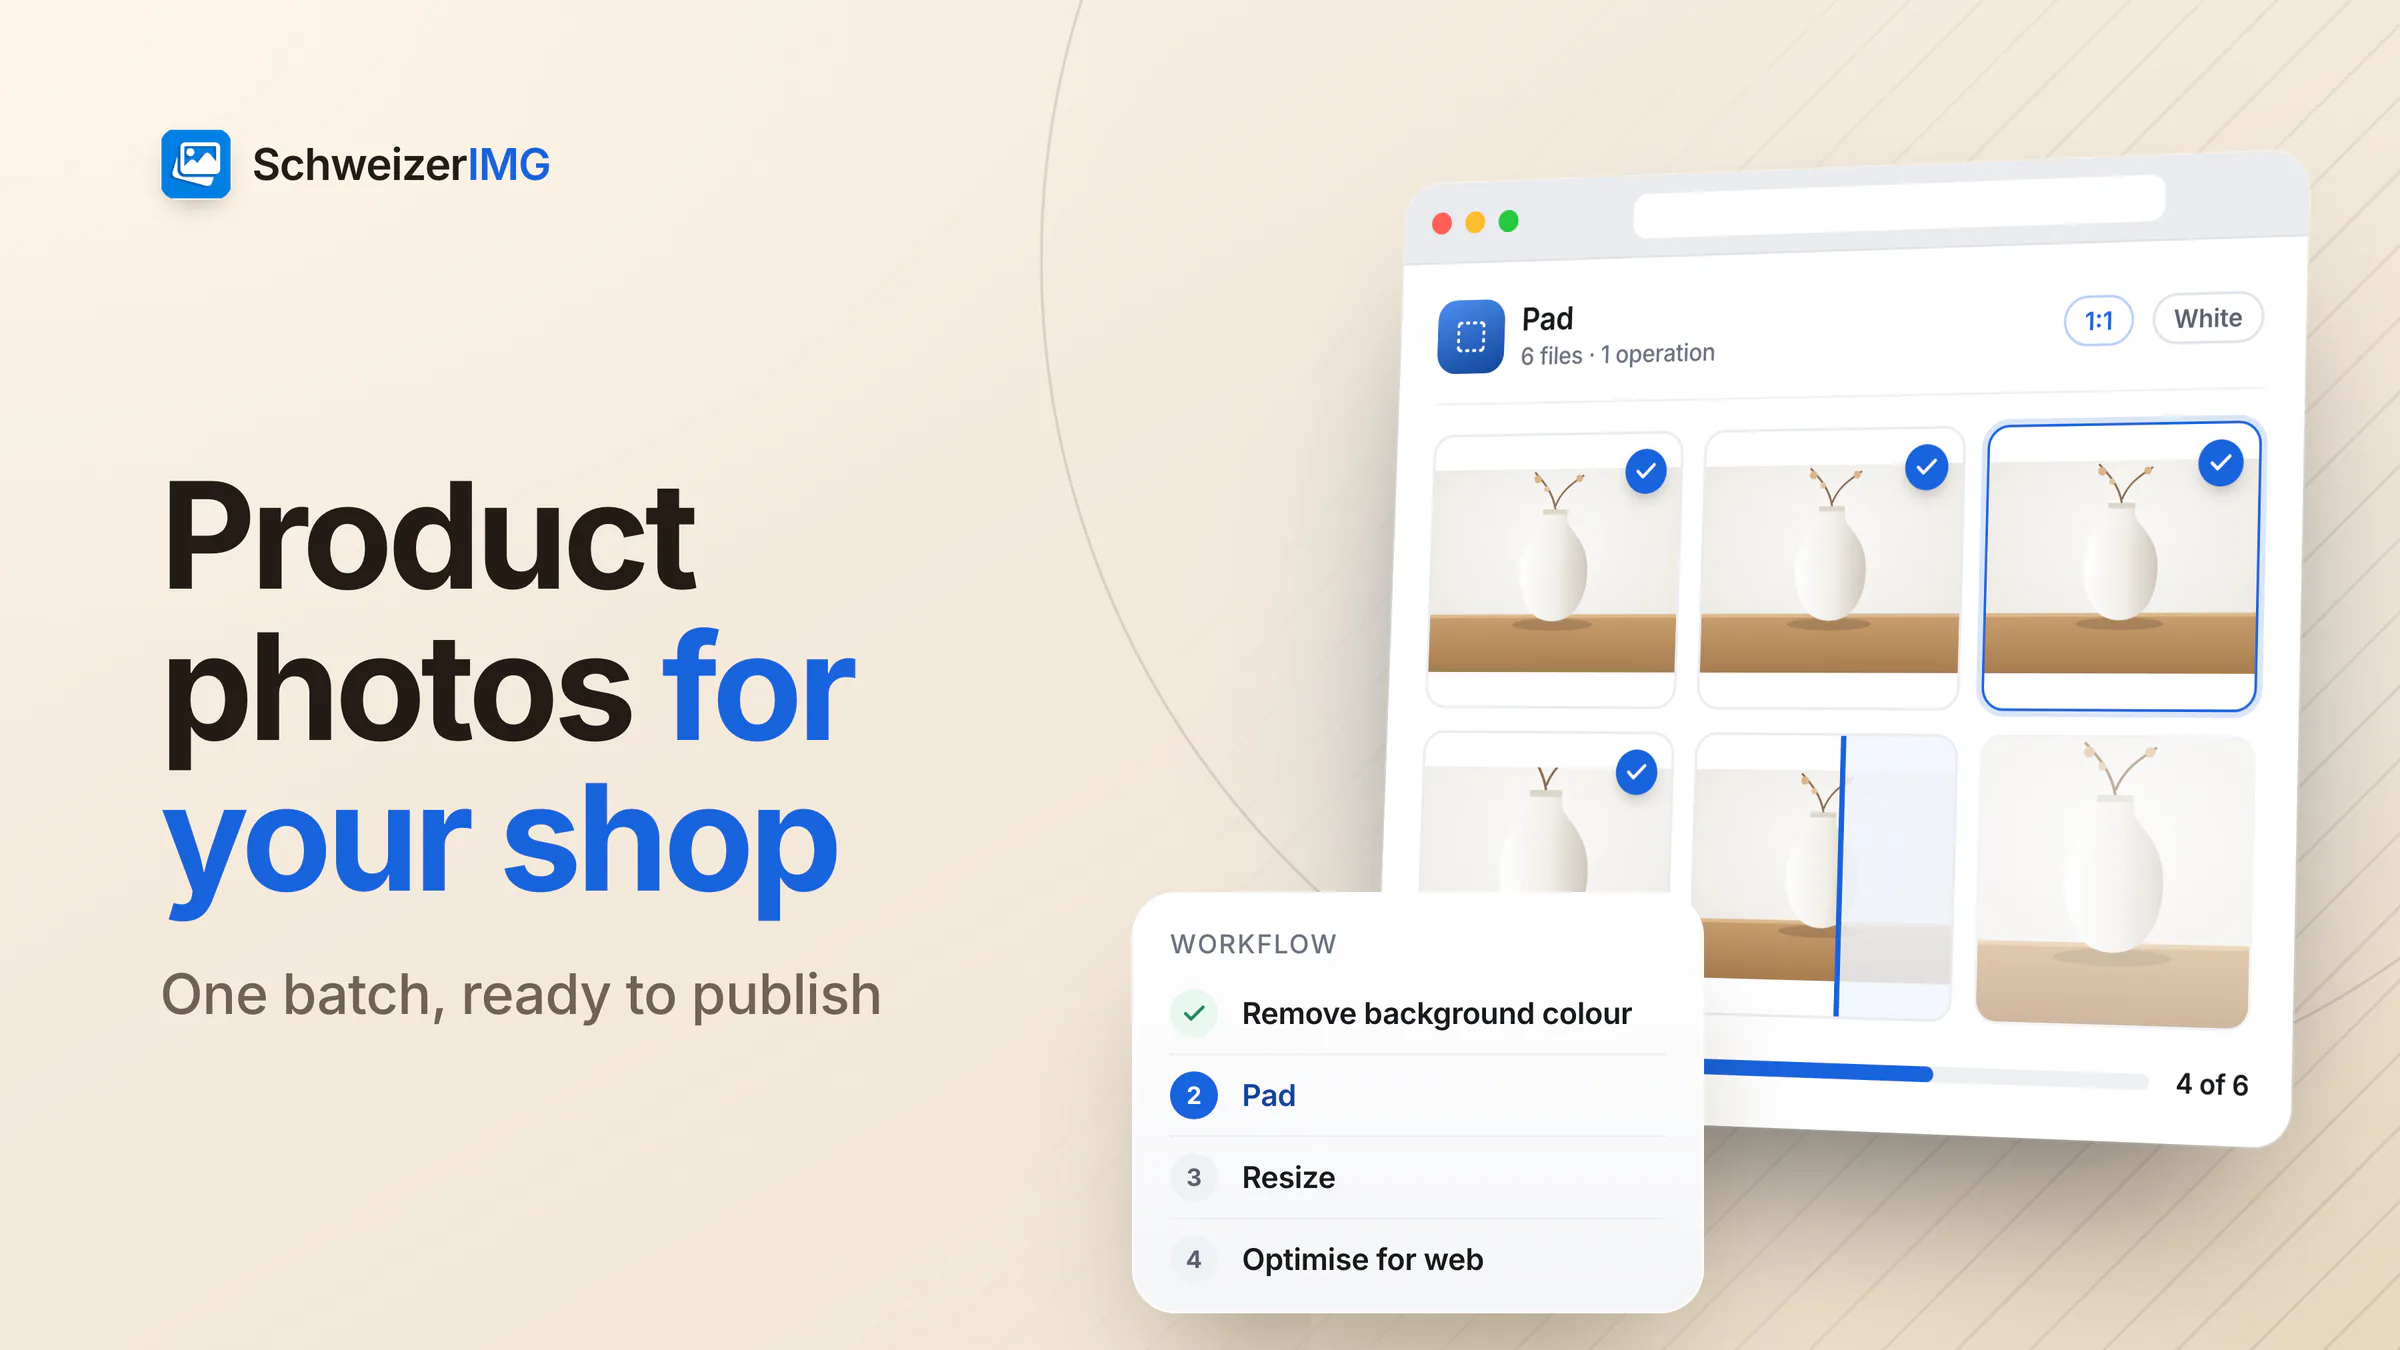
A shop looks professional when its product images look like a series: the same format, the same background, the same size, and files small enough to load quickly on a phone. Getting there with fifty photos from a shoot usually means a lot of repetitive clicks — or a workflow that applies each step to the whole batch at once.
This guide shows such a workflow with SchweizerIMG. Every step runs in your browser, so photos of products that are not yet launched never leave your device — why that matters is explained in editing images without uploading. More on the topic for retailers: SchweizerIMG for e-commerce.
Before you start
- Check your shop's recommendations. Shop systems and marketplaces state a recommended image size and aspect ratio; many prefer square images that are large enough for a zoom view. Use their numbers, not a guess.
- Collect the originals in one folder. Process copies; keep the untouched originals in case you want to redo a step with other settings.
- Sort out the misfits. Photos with a very different background or framing are better handled in a separate batch.
- Shoot consistently if you can. Even lighting and an even backdrop save more time later than any tool.
Product photos for your online shop: the workflow
Each step below is one tool, applied to the whole batch in one run — and one run is one operation, however many files it contains. After a run, Continue with another tool passes the results straight to the next tool without downloading them in between. See processing many images at once and continuing with another tool.
- 1
Remove the background colour (optional)
For products shot on white or an even backdrop: Remove background colour makes the backdrop transparent. Skip this step if your backgrounds are already clean.
- 2
Make every image square
Use Crop with the 1:1 aspect ratio, or Pad with “Square” and a white fill colour. Pad leaves the image's own pixels unchanged and fills only the added space.
- 3
Resize to the shop's size
Use Resize with “Longest side” or “Fit inside a box” set to your shop's recommended size. Smaller images are not enlarged unless you ask for it.
- 4
Add a watermark (optional)
Watermark places the same text or logo, at the same relative size and position, on every image.
- 5
Convert and compress
Use Convert format to WebP or AVIF, and keep a JPEG version as a fallback if your shop system needs it. Compress image never returns a file larger than the original.
- 6
Remove metadata
Remove metadata with “Private details only” removes the studio location and the camera's serial numbers — losslessly, without touching the pixels.
Square: crop or pad?
Both give you square images, but they work in opposite directions:
- Crop cuts the image down to a square. Use it when the product sits in the middle with generous space around it. The position option decides which part is kept; a detail-based position moves the crop to the most detailed part of each image.
- Pad adds space around the image until it is square. Use it for tall or wide products — bottles, scarves, frames — that must not be cut. With a white fill, the added space blends into a white background.
Removing a background by colour
Remove background colour works without AI: it removes the colour of the backdrop, which it can detect from the image edges. That makes the result predictable — and it means the tool works best when the background really is even.
- Start with a low tolerance and raise it until the backdrop disappears completely; too high a value starts eating into light parts of the product.
- Keep “Connected to the edges” so that white areas inside the product, such as a label, stay as they are.
- Use “Smooth edges” and “Remove the background's tint from edges” for cleaner outlines.
- Check the edges at full size before you continue — especially on white or very light products.
Know the limits
Colour-based removal is not designed for busy backgrounds, strong shadows or products in the same colour as the backdrop. For those photos, a cleaner shot or manual work is the better route.
Formats and file size
Image weight is one of the main reasons product pages load slowly on mobile connections. Modern formats reduce it considerably at the same visible quality:
| Format | When to use it |
|---|---|
| WebP | A good default for shop images: much smaller than JPEG and supported by all current browsers; supports transparency. |
| AVIF | Often smaller still at the same quality; supported by current browsers, but not by every shop system or marketplace upload. |
| JPEG | The universal fallback, accepted everywhere — keep a JPEG set if your shop system or a marketplace requires it. |
| PNG | For cut-out products that must stay transparent when the shop system does not accept WebP; larger files. |
If you maintain your own website, Optimise for web creates responsive sets — several widths in AVIF, WebP and JPEG — together with ready-to-paste HTML, in one run. Which plans include Optimise for web is shown on the pricing page. More in compressing and converting images; the formats are compared in WebP vs AVIF vs JPEG vs PNG, and the rest of a fast page in how to optimise images for your website.
Metadata and watermark
Product photos from a studio or a phone carry the location where they were taken, the camera's serial numbers and sometimes the photographer's contact details. None of it belongs in a public shop. Removing it is lossless, so it can always be the last step; what each field can reveal is explained in what your photos reveal. If you add a watermark, keep it subtle on product images — most shops present clean pictures, and some marketplaces do not allow watermarks at all.
Naming and ordering
- Name files before you start — for example by article number and view (
4711-front,4711-side). The results keep the name with a short suffix (or exactly, with “Keep the original file names” under “More options”), which makes uploading and assigning them easier. - Keep the same order of views for every product: front first, then side, back and detail.
- Download right after a run. Results exist only in the open tab until you save them; reloading the page discards them.
Operations and plans
The workflow above uses four to six operations for an entire batch, no matter how many photos it holds — within the number of files per run that your plan allows. How many operations per month and files per run each plan includes is listed on the pricing page.
Frequently asked questions
What size should product photos be for an online shop?
The size your shop system or marketplace recommends — many ask for square images large enough for a zoom view. Resize with “Longest side” brings the whole batch to that value; smaller images stay as they are unless you allow enlarging.
Can I remove the background of product photos without AI?
Yes, when the backdrop is even: Remove background colour removes it by its colour. Busy backgrounds and strong shadows need a cleaner shot.
How many operations does a batch of product photos use?
One per tool run, not per photo: all six steps use six operations for the whole batch, four if you skip the optional ones — as long as the batch stays within your plan's files per run.
Are my product photos uploaded anywhere?
No. Every tool runs in your browser; per run, our server receives only which tool ran and whether it finished. Details are on the security page.
Ready to try it?
Open the tools, see which plans include each tool of this workflow on the pricing page, or create a free account.
General information
This page is general information and marketing content, not legal or professional advice. It simplifies how shop systems and marketplaces handle images, which differs between services and changes over time; for your own shop, check your provider's current requirements or consult a qualified professional.