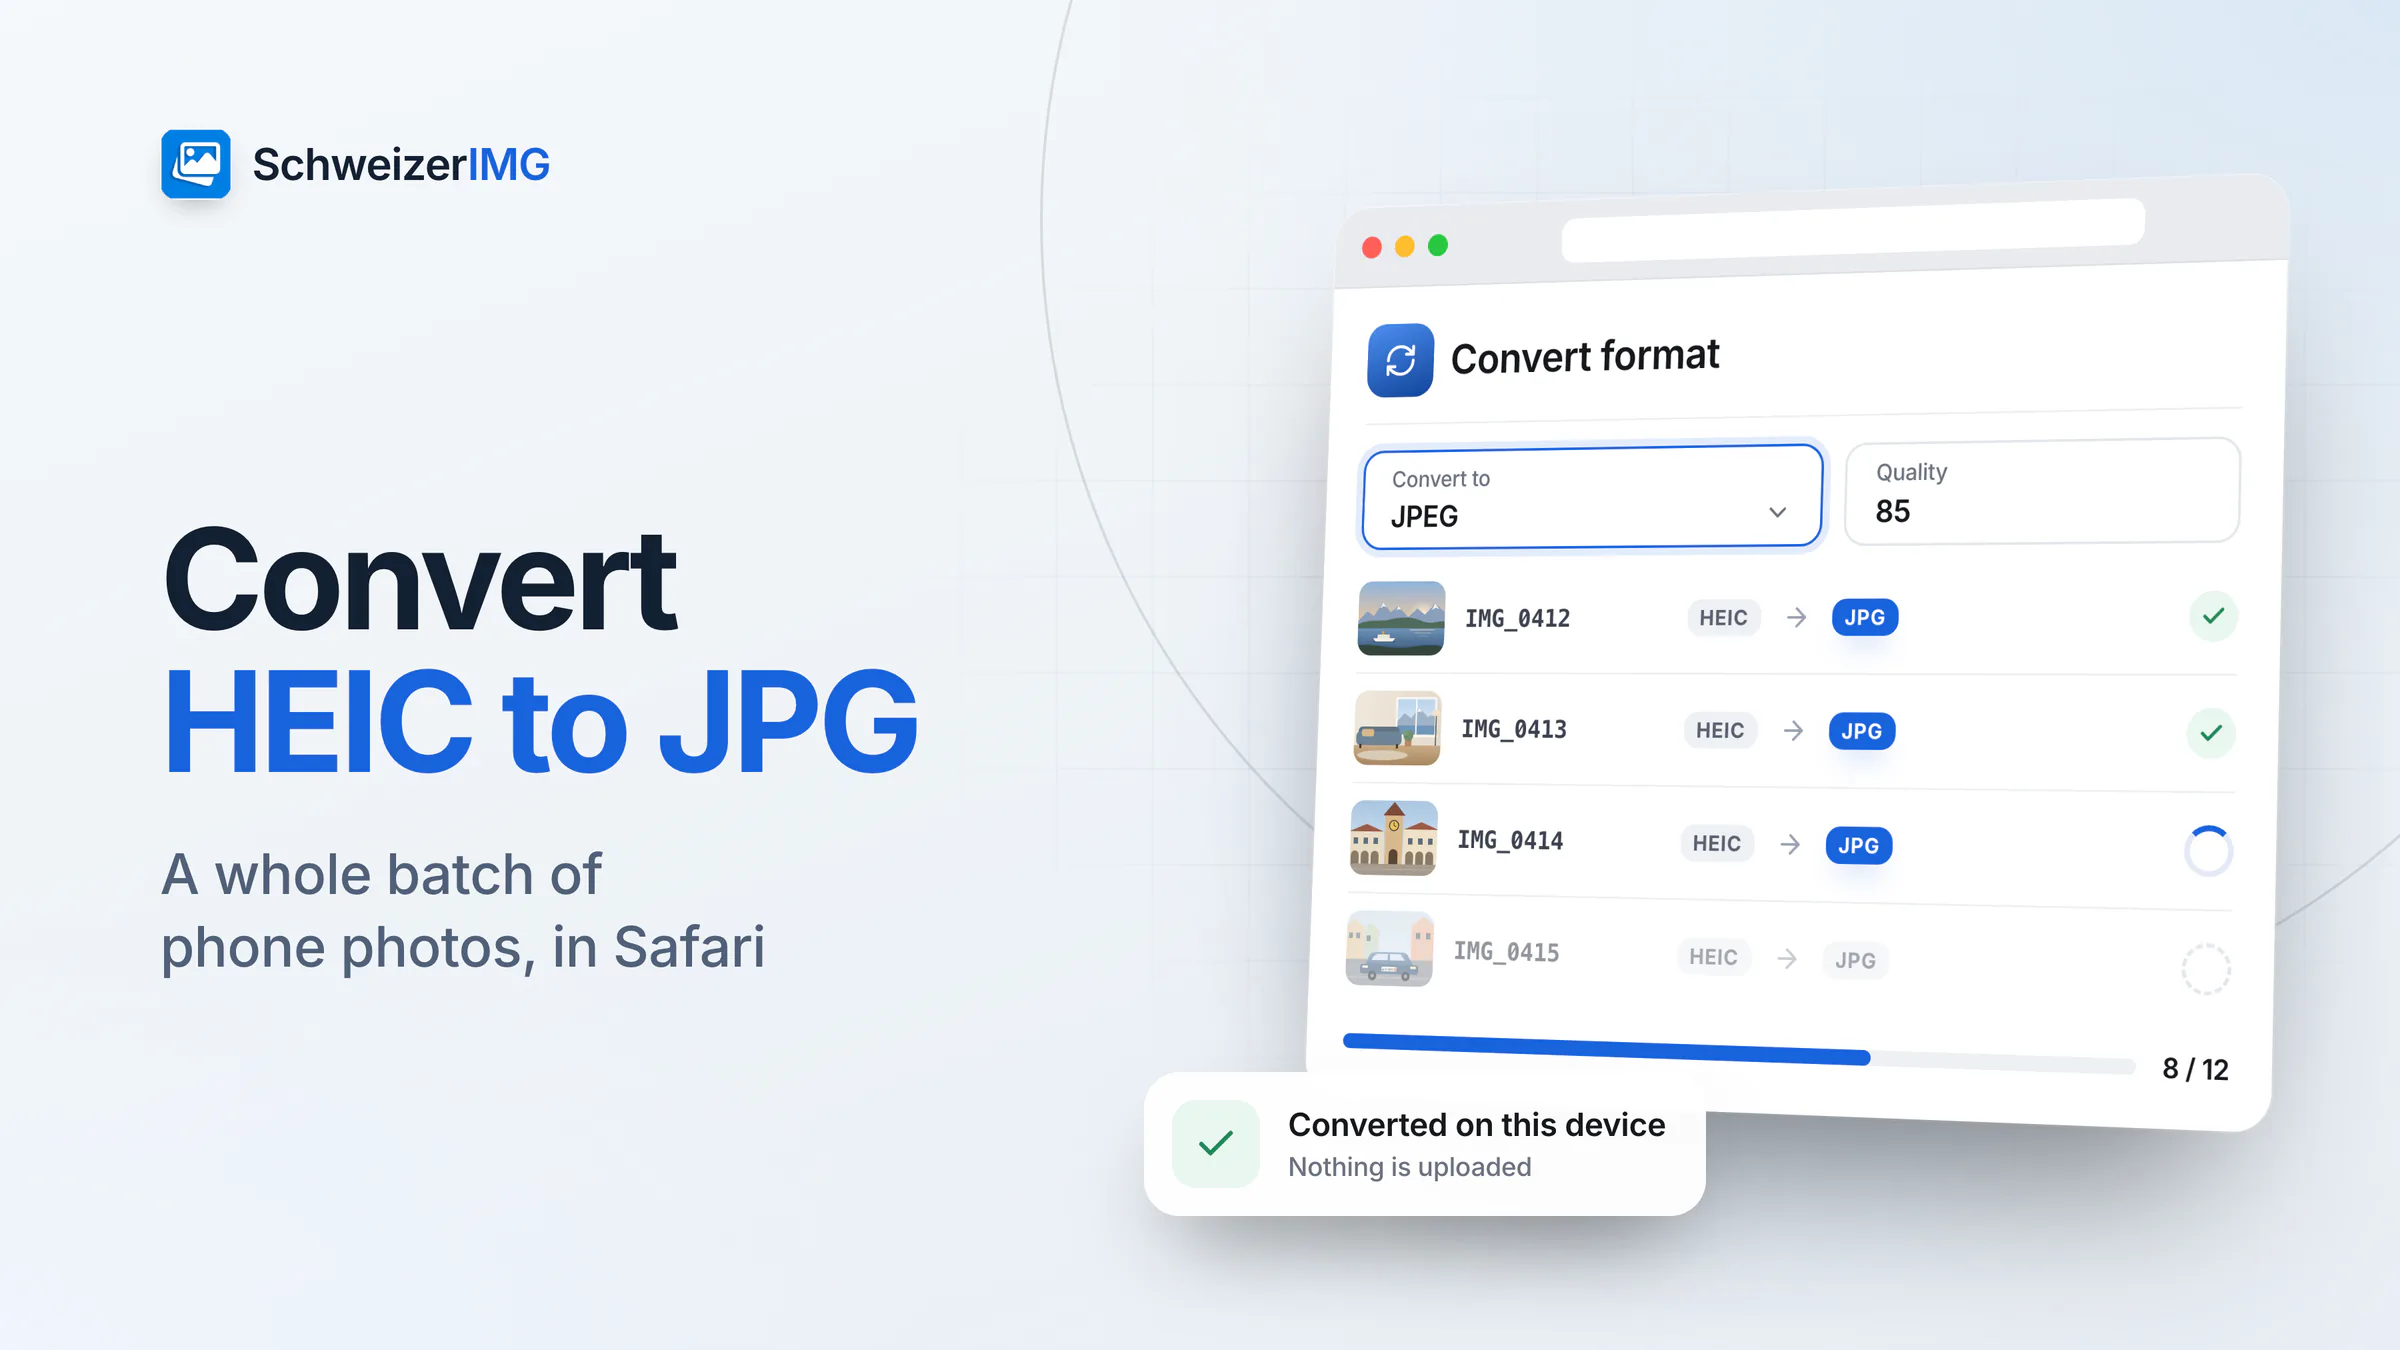
To convert HEIC to JPG with SchweizerIMG, open the app in Safari, add your photos to Convert format, choose JPEG and download the results — the whole batch in one run, processed in your browser. In other browsers HEIC photos do not open; there you let the phone export them as JPEG first.
A typical case: Max Muster wants to report water damage in his flat in Winterthur. The insurer's portal accepts JPG and PNG only, and his twelve photos from the phone are HEIC files. The same applies to a rental dossier, a job application form, an e-mail to someone with an older computer or a printing service. What HEIC is and why phones use it is explained in what is a HEIC file?.
Before you start
- Read the portal's requirements. Note the accepted formats, the maximum file size per image and, if stated, the maximum number of files or the image dimensions.
- Get the photos onto the device with Safari. That can be the phone itself, an iPad or a Mac. Check that the files really end in
.heic: some transfers already convert to JPEG. - Keep the originals. Convert copies, so you can repeat a step with other settings.
- Sort the set. Remove duplicates and blurred shots before converting — fewer files, smaller upload.
Converting HEIC to JPG in Safari, step by step
- 1
Open SchweizerIMG in Safari
Sign in and open Convert format in the optimisation tools. Safari decodes HEIC itself and hands the pixels to the tool — see iPhone photos (HEIC).
- 2
Add the whole set
Drop all photos in at once. Every image in the run gets the same settings, and the run counts as one operation however many files it holds — see processing many images at once.
- 3
Choose JPEG and the quality
Set “Convert to” to JPEG. Leave “Quality” empty for the format's default, or enter a value: a high value keeps more detail, a lower one gives smaller files.
- 4
Check the metadata and names
Under “More options”, “Metadata” keeps the metadata without location and device details by default. “Keep the original file names” gives you IMG_0412.jpg instead of a name with an added suffix.
- 5
Run and download
Start the conversion and save the JPGs individually or together as a ZIP file. They are created in your browser; nothing is uploaded.
Optional: smaller files and no hidden details
Portals often limit the file size per image, and a phone photo converted to JPEG can be larger than that limit. After the run, Continue with another tool passes the JPGs straight to the next tool without downloading them in between (continuing with another tool). Each further run is one more operation.
- Resize with “Longest side” reduces the dimensions — for a portal or an e-mail, a few thousand pixels on the longest side are usually more than enough. The “File size” mode resizes until each image fits a maximum file size. Smaller images are not enlarged unless you allow it.
- One run instead of two. Resize can also open the HEIC photos in Safari directly: set “Save as” to JPEG under “More options”, and it resizes and converts in a single run. Left at “Same as original”, a HEIC input is saved as PNG, because HEIC cannot be written.
- Remove metadata with “Private details only” removes location, serial numbers and previews from JPGs losslessly — useful if you kept all metadata during the conversion. Why this matters: what your photos reveal.
What to do in other browsers
In Chrome, Edge or Firefox the app reports that a HEIC photo cannot be opened — SchweizerIMG bundles no HEIC decoder. You have three ways around it:
- Export as JPEG from the phone. Some ways of sharing or exporting convert photos to JPEG automatically, for example sending them by e-mail. The JPGs then open in every tool, in any current browser.
- Change the camera format for the future. In the phone's camera settings, choose the most compatible format; new photos are then saved as JPEG.
- Use Safari for this one step. Convert in Safari, then continue in the browser you prefer.
Check the results before you upload
- Open two or three JPGs and compare them with the originals: sharpness, colours, the right way up.
- Compare file sizes with the portal's limit; if one is too large, run Resize with the “File size” mode on that image.
- Look at the extensions — every file should end in
.jpg. - Confirm the metadata by opening one file in View metadata: the location should be gone if you chose the default or “Remove”.
- Count the files before you upload, so none is missing from the dossier.
Frequently asked questions
Can I convert HEIC to JPG in Chrome?
Not with SchweizerIMG: HEIC photos open only in Safari. In Chrome, use JPEGs exported from the phone — they open in every tool.
How many photos can I convert in one run?
As many as your plan allows per run; the run counts as one operation. The limits of each plan are on the pricing page.
Are my photos uploaded during the conversion?
No. The conversion runs in your browser, and the server receives only the tool and the outcome of the run. How this compares with upload-based image websites: browser tools vs. upload websites.
JPG or PNG for an upload portal?
JPG. For photos it gives much smaller files at good quality; PNG is lossless and quickly exceeds a portal's size limit.
Renting out or selling property and receiving photos from phones? See SchweizerIMG for real estate. Ready to convert your first batch? Create a free account.
General information
This page is general information and marketing content. Phone settings, transfer options and the requirements of upload portals differ and change; always check the instructions of the service you upload to.