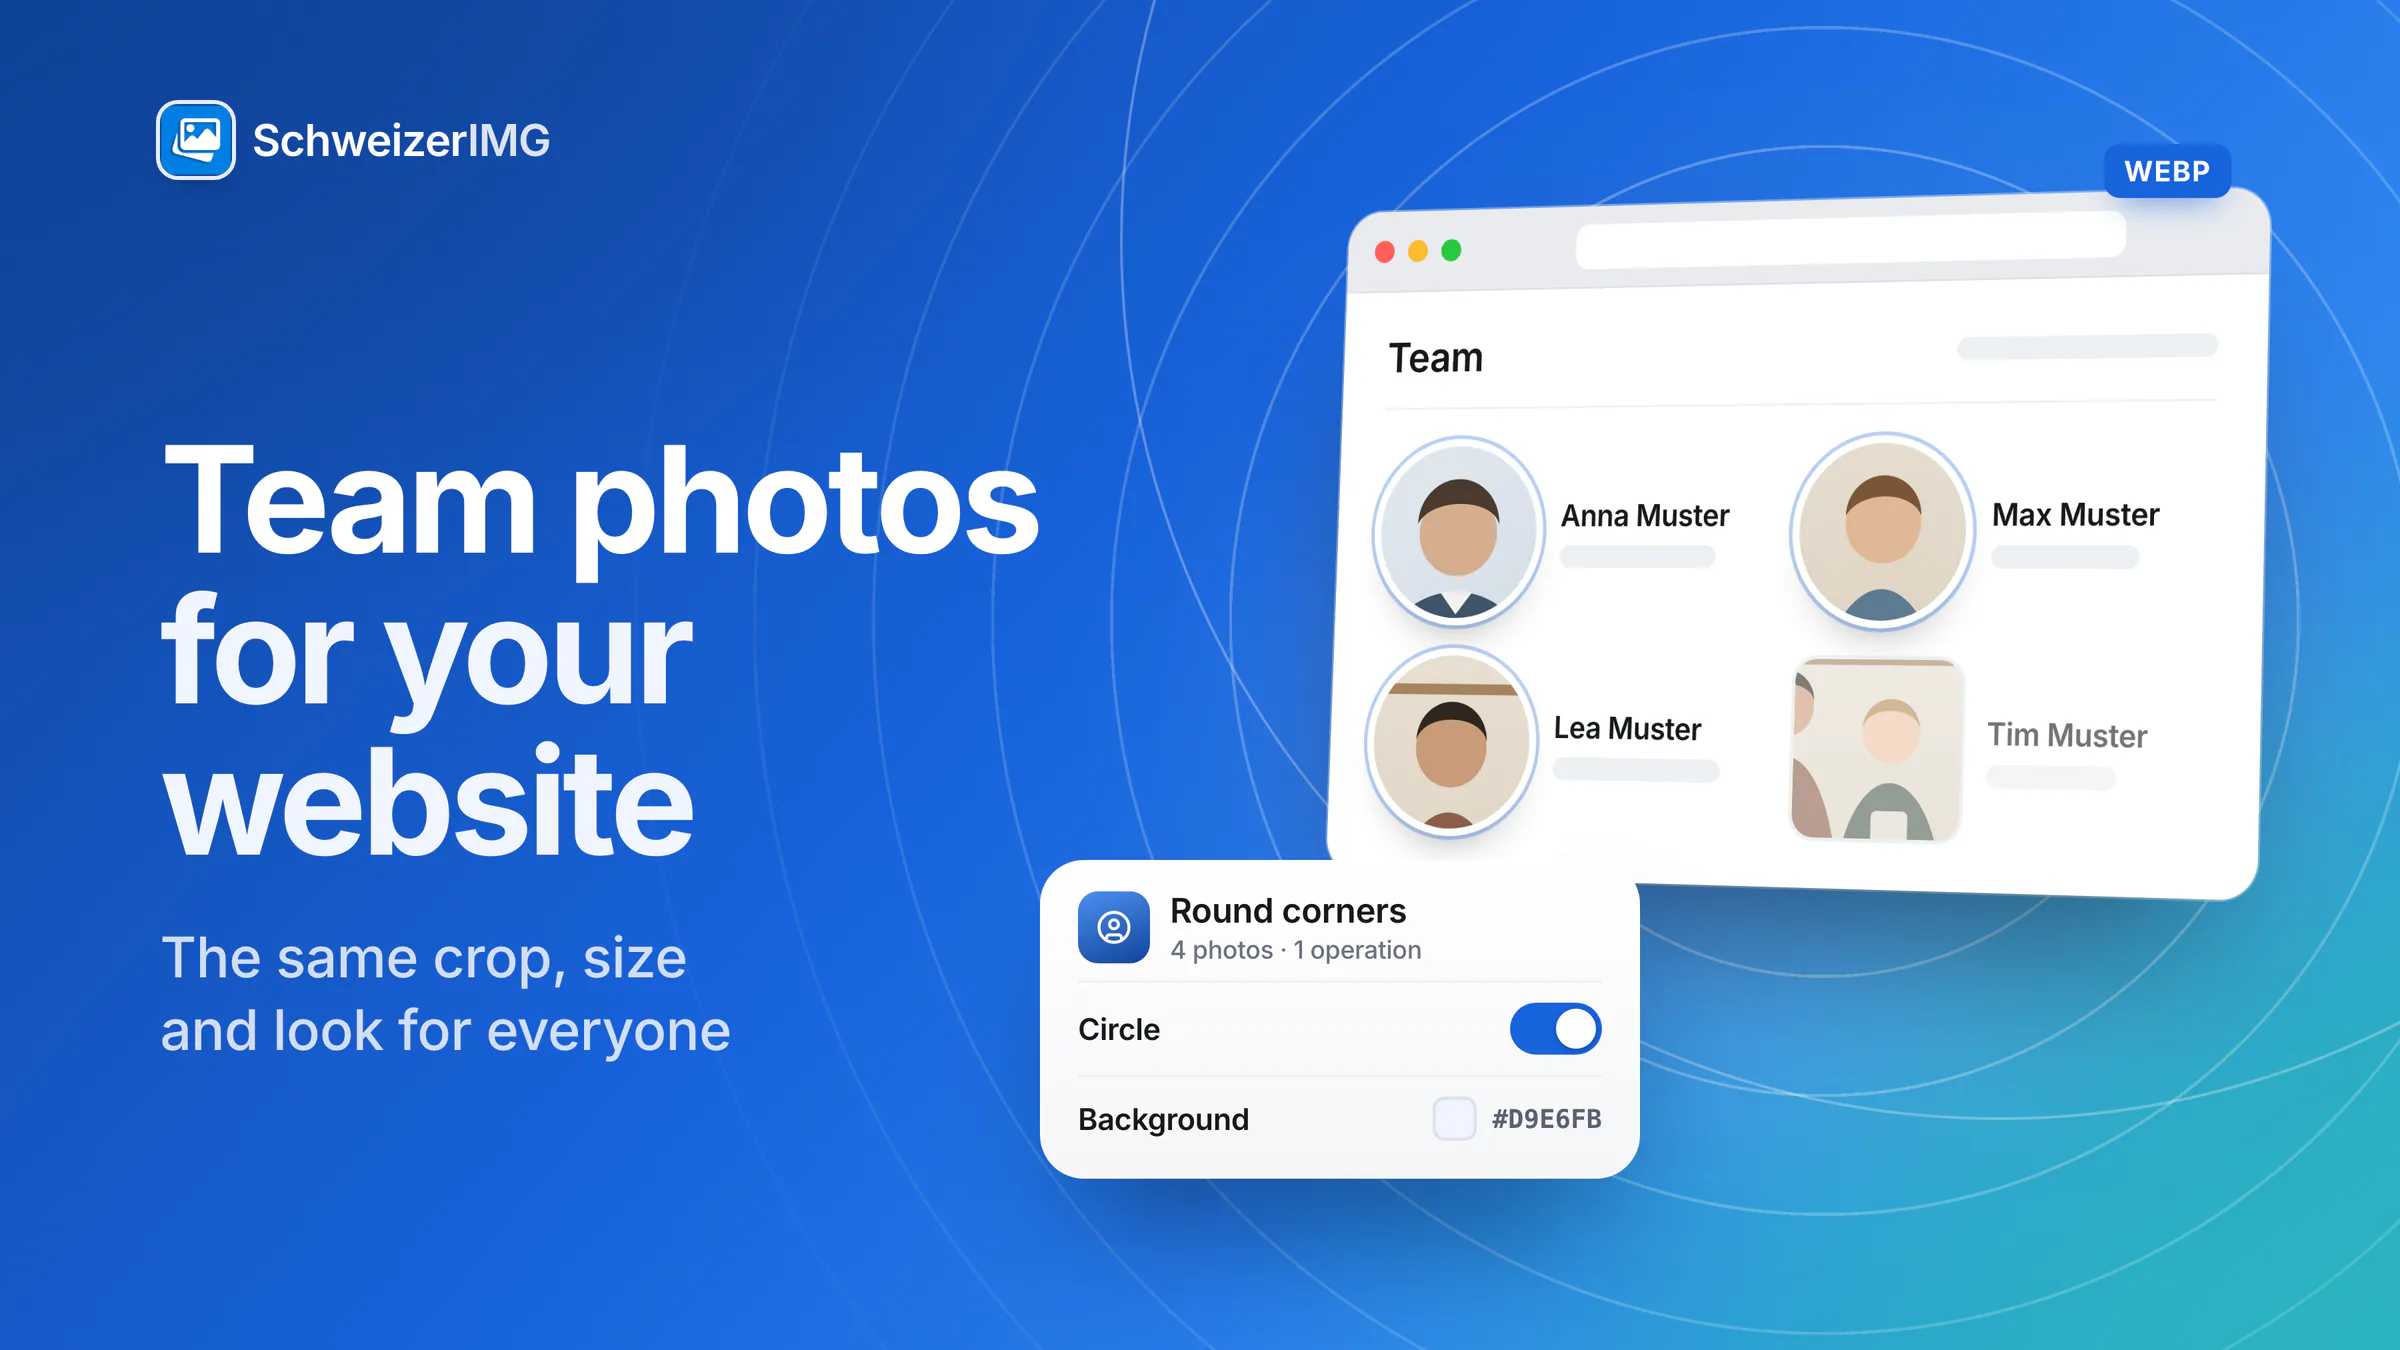
To make team photos for your website look like one set, crop every portrait to the same ratio — usually square — with Crop, bring them to one size with Resize, even out the light with Adjust colours, cut them round with Round corners if your design uses circles, and save small files with Convert format or Compress image. Remove the metadata before the portraits go onto your site.
The portraits are processed in your browser and are not uploaded to us — useful when a new colleague's photo should not circulate before their first day. Before publishing, make sure everyone has agreed to appear; how consent works is explained in photos of people in Switzerland. For agencies that build team pages for clients: SchweizerIMG for agencies.
Why team photos rarely match — and what helps
Team pages grow over years: portraits from the last shoot, a colleague's phone picture from a holiday, a newcomer photographed against the office wall. Different framing, light and backgrounds make the page look restless. Tools can even out ratio, size and colour; they cannot turn a busy background into a studio backdrop. The best results come from a simple routine for every new portrait:
- Same backdrop — a plain wall or a sheet in one colour, evenly lit.
- Same framing — head and shoulders, the face at roughly the same height, some space above the head.
- Same light — daylight from a window at the side, no spotlight from the ceiling.
- Same distance — so faces end up the same size after cropping.
Consistent team photos, step by step
Each step takes all portraits in one run, and one run is one operation however many photos it holds — see processing many images at once. Continue with another tool passes the results to the next tool without downloading them in between. The tools are on the features page; which plans include each of them is shown on the pricing page.
- 1
Crop to a square
Crop with 1:1 (square). For head-and-shoulder portraits taken upright, the Position “Top” usually keeps the head in frame. If faces sit at very different heights, crop those photos in a separate run with their own position.
- 2
Bring them to one size
Resize with Width and height set to the size your design needs — or “Fill a box (crop)”, which crops and resizes in one step. Portraits smaller than the target are not enlarged unless you allow it.
- 3
Even out the look
Adjust colours with the same White balance, Exposure and Contrast for the whole set, or Auto-enhance to balance each photo on its own. The preview shows the first image; check it, then run the set.
- 4
Cut them round (optional)
Round corners with Circle cuts the centred square of each photo to a circle. Outside the circle stays transparent, or takes the colour you set under Background outside the corners. Crop offers the same with the Circle shape.
- 5
Make the files small
Convert format to WebP, or Compress image to keep the format and make the files smaller — the result is never larger than the original.
- 6
Remove the metadata
Remove metadata before the upload to your website. Phone portraits can carry the place where they were taken — sometimes someone's home — and details of the device. Removal is lossless.
Round in the file or round on the page?
Many website builders and themes can show a square image as a circle themselves. In that case, keep the square file: you can change the design later without editing every portrait again. Cut the circle into the file when the image goes where no styling applies — an e-mail signature, a slide, a printed flyer. Transparency outside the circle needs PNG, WebP or AVIF; a JPG fills it with white or the background colour you chose.
One background colour for the whole team: what works
A shared background in the brand colour is the most visible way to make a set match. There are honest routes — and one situation no tool here solves:
| Situation | Tool | Result |
|---|---|---|
| Portraits on an even, plain backdrop | Remove background colour, then Pad with Margins and a Fill colour | The backdrop becomes transparent; Pad fills the added space and the transparent areas with your brand colour |
| Portraits of different shapes that must not be cut | Pad with Square and a Fill colour | Space in your brand colour is added around each photo; the photo's own background stays |
| Busy backgrounds — office, street, garden | None reliably | Photograph again against a plain wall, or keep the backgrounds and unify crop, size and light instead |
Remove background colour works by colour, without AI: it removes the backdrop colour it detects at the edges, within a tolerance you set. Fine hair and a backdrop close to the colour of skin or clothing are its limits — check the edges at full size. Its settings are explained in preparing product photos.
Keeping the team page consistent next year
The next newcomer arrives in a few months. Write down the values you used — ratio and position, size, the colour corrections, the brand colour's hex code, the format — and keep them with the portraits. A new photo then gets exactly the same treatment in a few runs. Results exist only in the open tab until you download them, so save each set right after its last step. How image size affects loading time is covered in optimising images for your website.
Frequently asked questions
What size should team photos be for a website?
The size your design displays, ideally about twice that in pixels so the portraits stay sharp on high-resolution screens — and the same for everyone. Resize brings the whole set to that size in one run.
Can I give all team photos the same background colour without AI?
Yes, if the portraits were taken against an even, plain backdrop: Remove background colour removes it by colour, and Pad fills it with your brand colour. Busy backgrounds need a new photo.
How do I make round profile pictures for the team page?
With Round corners and the Circle option, or Crop with the Circle shape. Save as PNG or WebP to keep the outside transparent — or keep the square file if your website rounds images itself.
Are the team portraits uploaded anywhere?
No. They are processed in your browser; per run, our server receives only which tool ran and whether it finished. Details are on the security page.
Ready to tidy up the team page? Create an account.
General information
This page is general information and marketing content, not legal advice. It describes how to prepare portraits for a website; whether a person's photo may be published depends on their consent and the context, which this page does not assess. For a decision about your own situation, please consult a qualified professional.