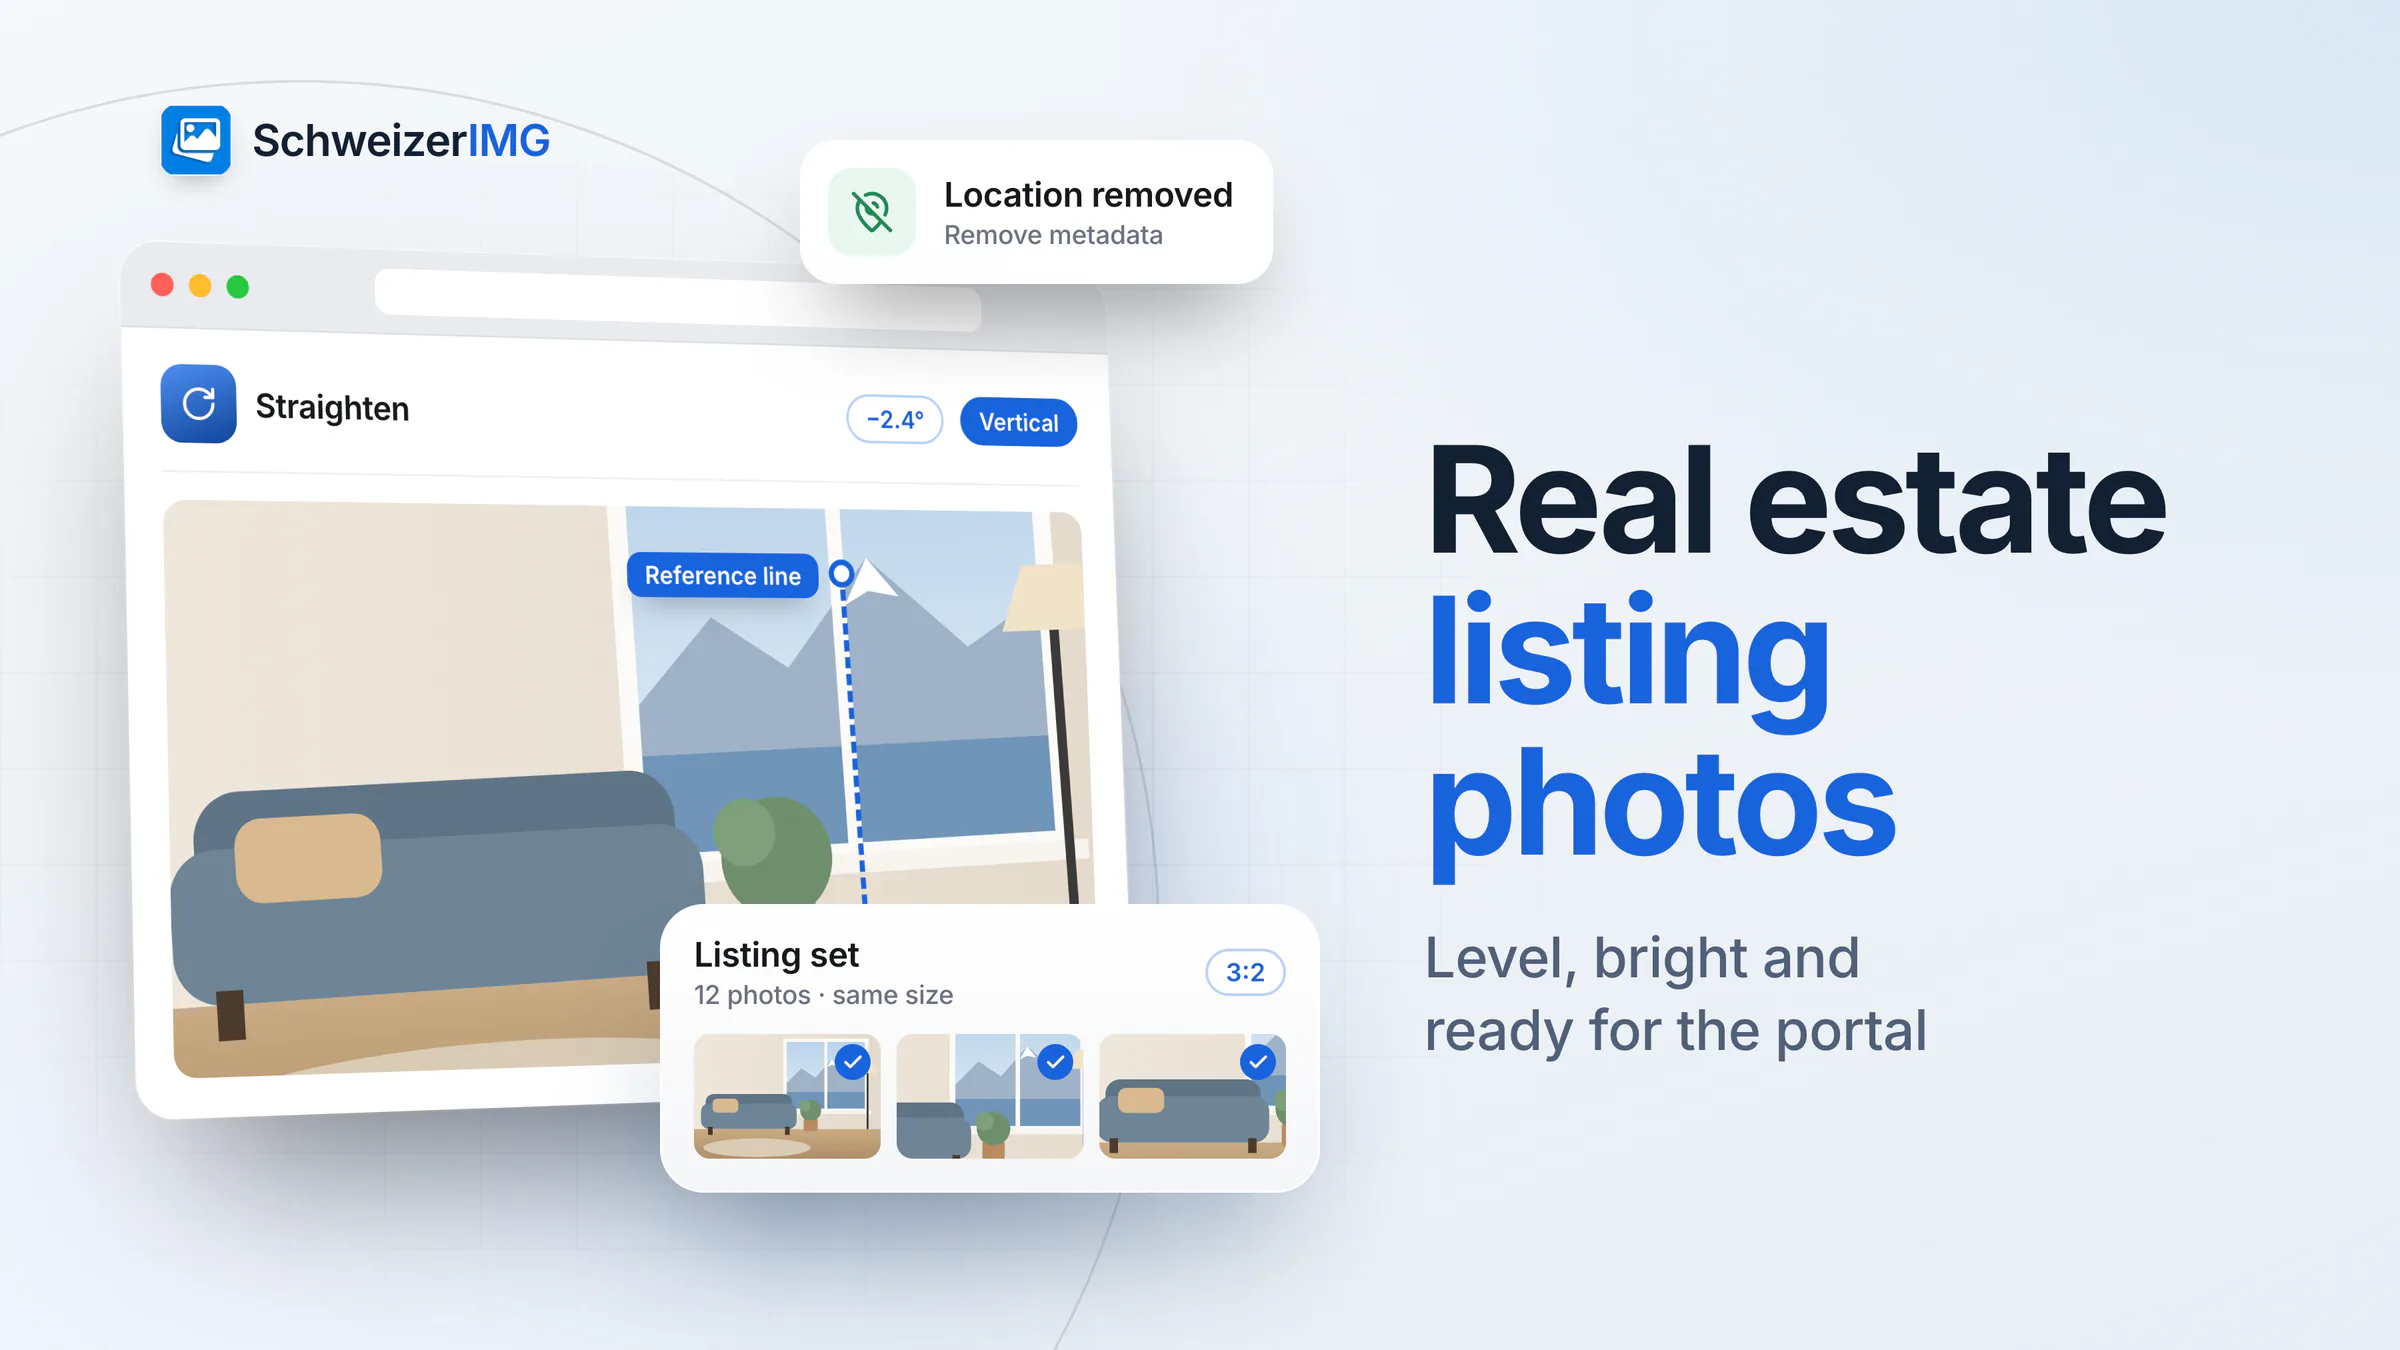
To prepare real estate listing photos, straighten tilted shots with Straighten, even out the light with Adjust colours, bring the whole set to one aspect ratio with Crop, resize it to what your listing portal asks for with Resize, and finish with Remove metadata. Where a neighbour, a number plate or another building's house number is in the picture, hide it with Blur or pixelate.
Every step runs in your browser, so the photos of a private home are not uploaded to us — not even weeks before the listing goes live. More for agencies and owners: SchweizerIMG for real estate.
Before you edit: what the shoot decides
- Keep the camera level. Hold it at about chest height and point it straight ahead, not up or down. A tilted camera makes walls, door frames and windows lean towards each other.
- Tidy away personal things. Family photos, letters with names, a calendar on the fridge, a screen with messages: whatever is in the frame ends up in a public listing.
- Photograph the rooms at the same time of day, so the light — and later the colour corrections — match across the set.
- Check the portal's requirements. Listing portals state a minimum size, the accepted formats, a maximum file size and sometimes rules on logos. Use their current values; they differ between portals and change over time.
Real estate listing photos, step by step
Most steps take the whole set in one run, and one run is one operation however many photos it holds; Straighten takes one photo per run. After a run, Continue with another tool passes the results to the next tool without downloading them in between — see processing many images at once and continuing with another tool. The tools are on the features page; which plans include each of them and how many operations and files per run they allow is shown on the pricing page.
- 1
Straighten tilted photos
Open Straighten for a tilted photo and draw a Reference line along a door frame or the edge of a wall, set to “Vertical” — or along a window sill, set to “Horizontal”. The photo is turned by exactly that angle and, by default, cropped to the largest rectangle, so no empty corners remain.
- 2
Even out light and colour
Adjust colours applies the same corrections to every photo of a run: Exposure for a dark room, Highlights and shadows for a bright window next to a dim corner, White balance where warm lamps and daylight mix. Rooms with very different light are better run in separate groups.
- 3
One aspect ratio for the whole set
Crop with 3:2 or 4:3 — whichever your portal displays best — and the Position that keeps the important part of the rooms. The position applies to every photo of the run, so photos that need a different one go in a separate run. One ratio makes the gallery calm instead of jumping between formats.
- 4
Resize for the portal
Resize with “Longest side” set to the portal's recommended size. Smaller photos are not enlarged unless you allow it.
- 5
Add the agency name (optional)
Watermark places a text or a logo image the same way on every photo — for example small, at a reduced Opacity, bottom right. Check the portal's rules first: some do not allow logos in listing images.
- 6
Remove metadata last
Remove metadata takes out the location, camera serial numbers and other hidden details losslessly — the pixels are not re-encoded.
Straighten fixes tilt, not perspective
Straighten rotates. It corrects a photo taken with the camera turned slightly sideways, where every vertical leans the same way. It does not correct converging verticals — walls leaning towards each other because the camera pointed up or down. That would need a perspective correction, which SchweizerIMG does not offer. The remedy is at the shoot: camera level, a step back, or a slightly higher position. The automatic tilt detection in Straighten is made for scanned documents, not for room photos.
What the tools deliberately do not do
SchweizerIMG has no AI features: no sky replacement, no virtual furniture, no object removal, no upscaling. Auto-enhance in Adjust colours balances exposure, contrast and vibrance of each photo by measuring it; it does not add anything to the picture. That keeps every change predictable — and keeps the listing honest. Brightening a dark hallway is normal; making a north-facing room look sunny or hiding a defect misleads the people who come to view it.
Neighbours, number plates and house numbers
Exterior shots and views from a balcony often catch a neighbour in the garden, a car in the next driveway or the house number of the building opposite. Hide them with Blur or pixelate before the photo goes online; a solid colour suits plates and numbers. Effects, strength and the full workflow are in blur faces and number plates; whether people may appear at all is covered in photos of people in Switzerland.
Location data in listing photos: why it still matters
Once a listing is online, the address — or at least the municipality — is usually public anyway. The location stored in the photo files still deserves attention:
- Before publication. Photos travel between owner, photographer and agency, sometimes weeks before the listing goes live — or for a discreet sale that is never published at all. A GPS position in every file points to the exact building for anyone who receives one.
- When the listing shows only the area. Some listings name the region and give the address on request. Exact coordinates in the photos undo that choice.
- Beyond the location. Camera serial numbers, the photographer's name and the date of the shoot travel along too — details nobody looking for a flat needs.
Remove metadata with “Private details only” removes location, serial numbers, owner and contact details and keeps the rest; “Everything that isn't needed to show the image” goes further. Check what a file carries with View metadata first — see remove location and camera data and what your photos reveal. Your photos are processed on your device; details on the security page.
Formats and file size for listing portals
JPG is accepted almost everywhere; some portals also take WebP. If a portal sets a maximum file size per photo, Compress image makes the files smaller at the best quality for their size — the result is never larger than the original — and Resize can also aim at a maximum file size. Converting with Convert format is only worth it when the portal accepts the new format; the formats are compared in WebP, AVIF, JPEG or PNG.
Frequently asked questions
Can SchweizerIMG correct converging verticals in property photos?
No. Straighten rotates a photo; it does not correct perspective. Walls that lean towards each other need a level camera at the shoot.
Which aspect ratio should listing photos have?
The one your portal displays best — often a landscape format such as 3:2 or 4:3. More important than the exact ratio is using the same one for every photo of a property.
Should I remove the GPS data if the address is in the listing anyway?
It is a good habit: the photos often circulate before publication, and some listings deliberately show only the area. Removal is lossless, so it costs no quality.
Are the photos of the property uploaded?
No. They are processed in your browser; per run, our server receives only which tool ran and whether it finished.
Ready to prepare your next listing? Create an account.
General information
This page is general information and marketing content, not legal or professional advice. It simplifies how listing portals handle images, which differs between services and changes over time, and it does not assess whether a photo showing people or neighbouring property may be published. For your own case, check the portal's current requirements or consult a qualified professional.