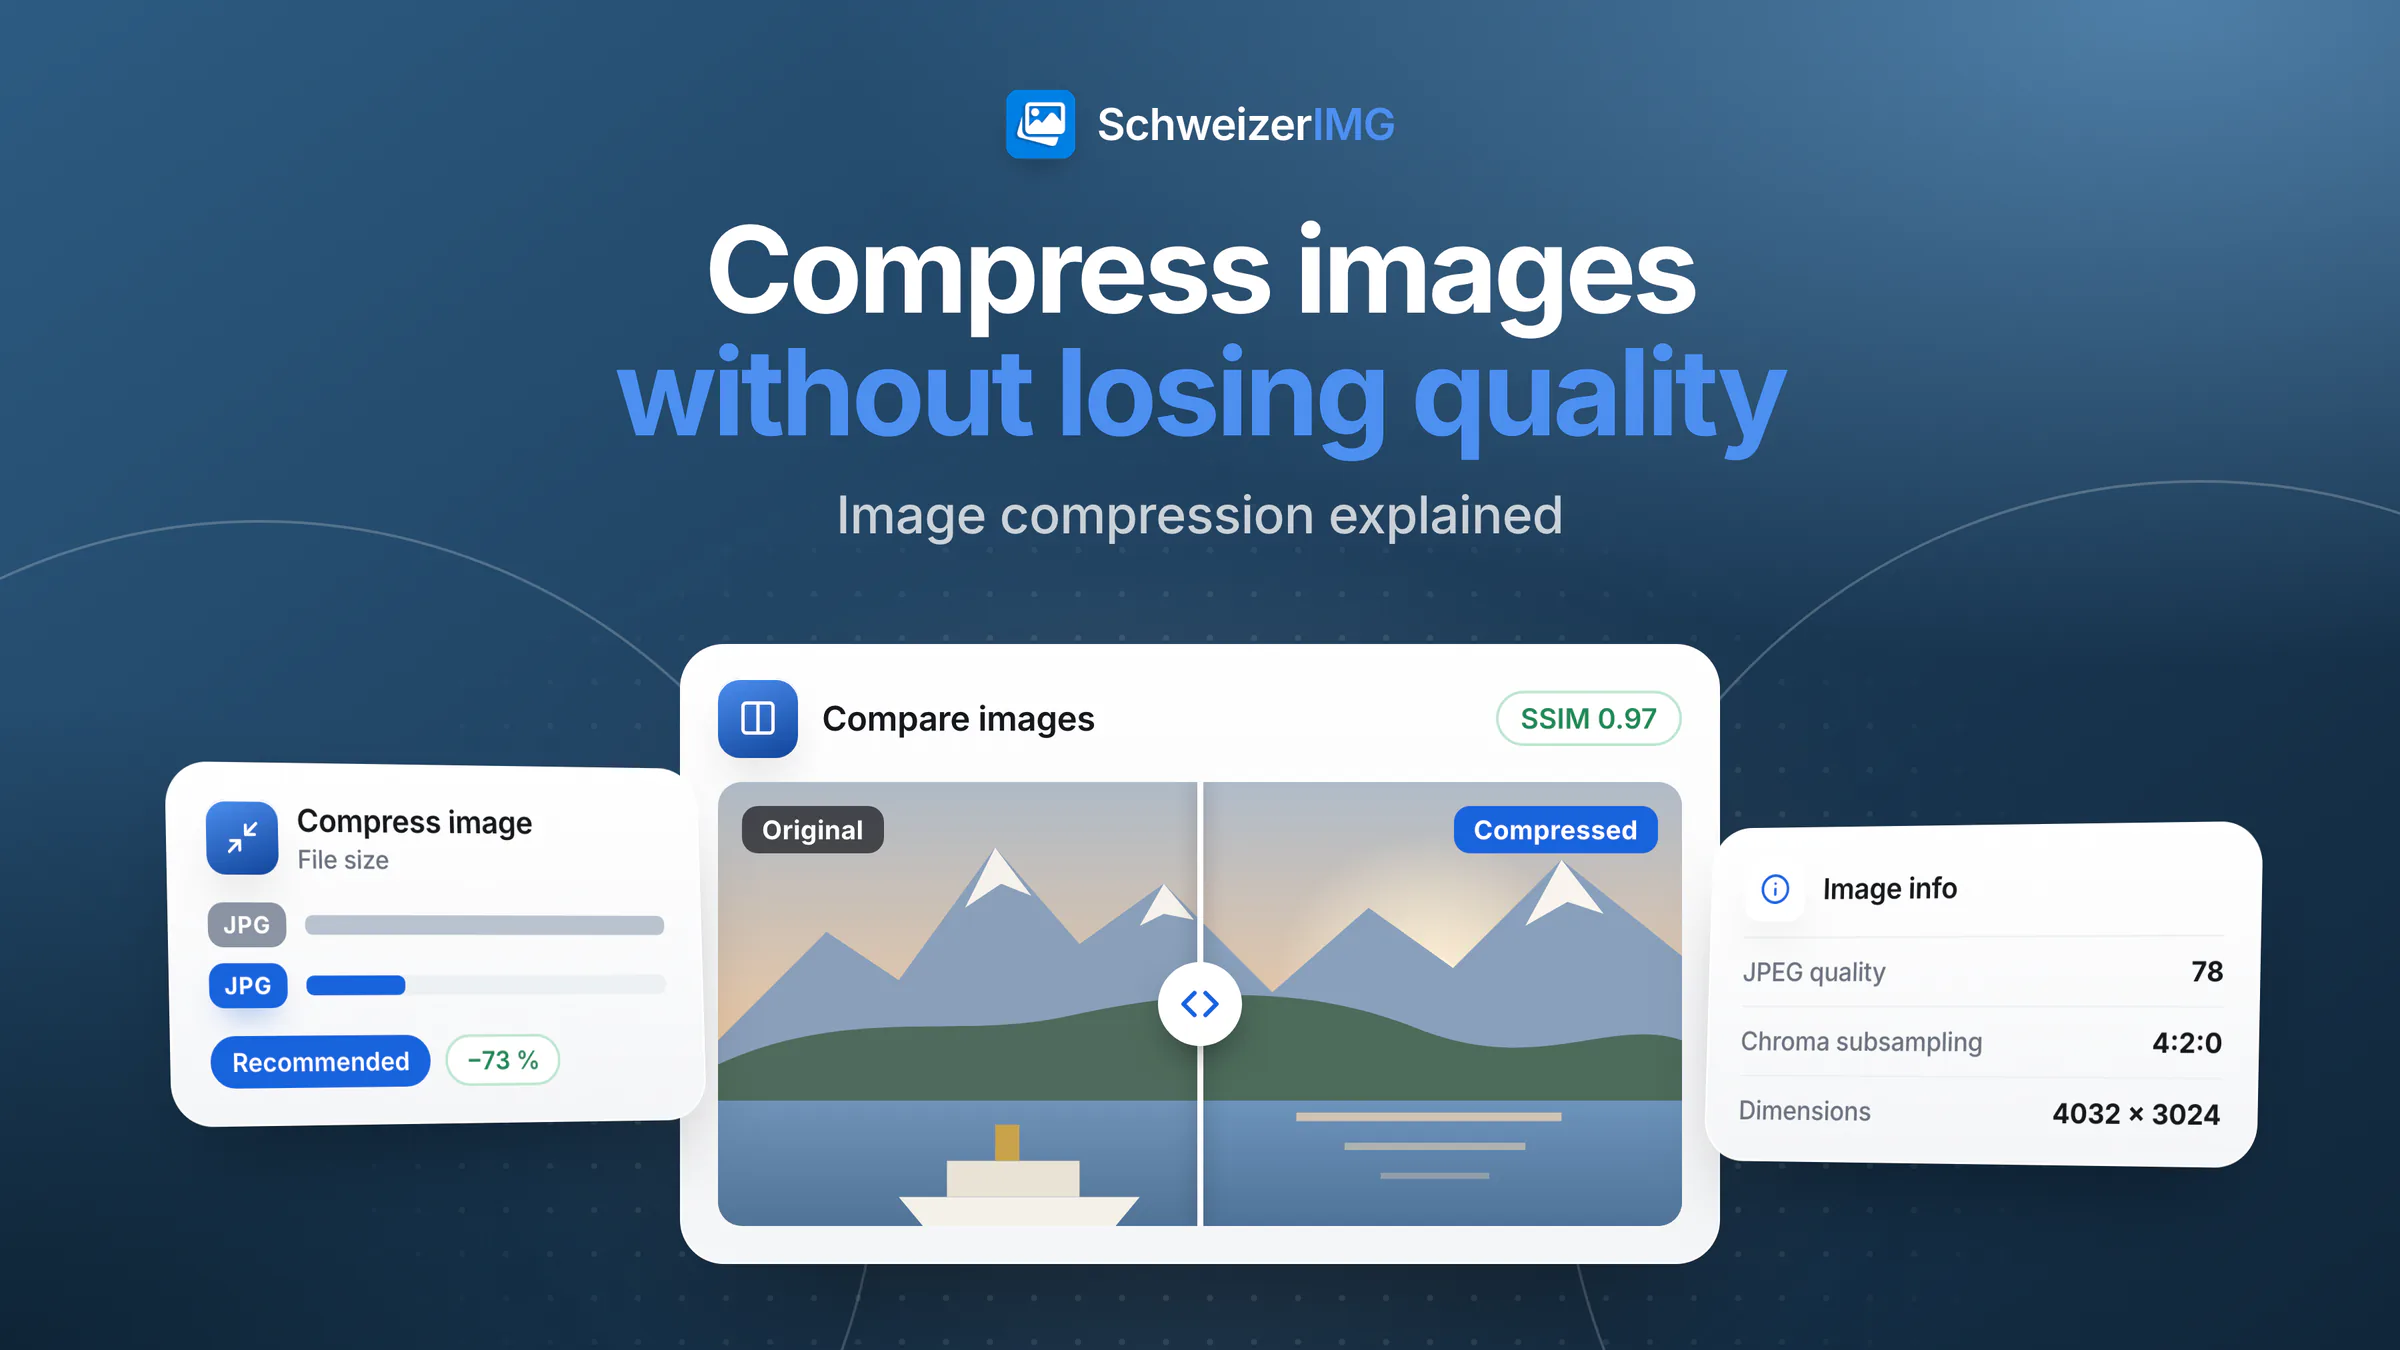
To compress images without visible quality loss, do three things in this order: reduce the dimensions to what the image will really be shown at, save it once in a lossy format at a moderate quality instead of 100, and compare the result with the original at full size. For screenshots, logos and graphics, choose lossless compression instead — it keeps every pixel.
This article explains what happens inside an image file when you compress it, why the quality slider behaves the way it does and which mistakes cost the most quality. All the tools mentioned run in your browser; your images are not uploaded — the difference that makes is explained in browser tools vs. upload websites.
Lossy or lossless: what is the difference?
Every compression method looks for redundancy — areas of the same colour, repeating patterns, detail the eye barely notices. The two families differ in what they are allowed to throw away:
| Lossy | Lossless | |
|---|---|---|
| What changes | Fine detail the eye notices least is simplified or discarded | Nothing: the pixels come back exactly as they were |
| File size | Much smaller, adjustable with the quality setting | Smaller only where the image has redundancy to remove |
| Good for | Photos: landscapes, portraits, product shots | Screenshots, logos, text, images you will edit further |
| Formats | JPEG, WebP, AVIF, JPEG XL | PNG, and WebP, AVIF or JPEG XL in lossless mode |
Which format suits which purpose is a topic of its own; in short, JPEG is the most compatible choice for photos, WebP and AVIF give smaller files on websites, and PNG keeps sharp edges and transparency. The formats are compared in WebP vs AVIF vs JPEG vs PNG; the settings are explained in compressing and converting images.
Which quality setting? Why 100 is rarely needed
The quality number (1–100) does not measure how good the image looks. It tells the encoder how much detail it may simplify. Two things follow from that:
- The top end is expensive. Between a high setting and 100, the file can grow a lot while the visible difference all but disappears. Even 100 is still lossy in JPEG — it is not the same as lossless.
- The numbers are not comparable. Each format has its own scale: quality 75 in JPEG is not the same as quality 75 in AVIF. A setting that works for one format is only a starting point for another.
- The right value depends on the image. A detailed mountain landscape needs more quality than a portrait with a soft background; a single number for everything is always a compromise.
That is why Compress image offers an Automatic mode: for each image, it tries several qualities on samples taken across the picture, measures how similar each result is to the original, and keeps the lowest quality that still meets the target of the chosen level — Light (best quality), Recommended or Strong (smallest). If you know the value you want, Choose the quality sets it directly; Target file size compresses until a limit is met. Whatever you choose, the result is never larger than the original.
Chroma subsampling in plain words
The eye is far more sensitive to brightness than to colour. JPEG and AVIF use this: they can store the colour information at a lower resolution than the brightness. 4:2:0 keeps colour at half the resolution in both directions and gives the smallest files; 4:4:4 keeps full colour detail. In photos the difference is almost never visible. In screenshots, small red or blue text and thin coloured lines, 4:2:0 can leave soft, smeared edges. Compress image sets this automatically; under Advanced format settings you can choose Chroma subsampling yourself for JPEG and AVIF.
Resolution vs file size: why megapixels matter most
The biggest lever is not the quality setting but the number of pixels. Halving the width and the height leaves a quarter of the pixels — and the file shrinks accordingly, before any quality is touched. A photo straight from a phone or camera usually has far more pixels than a screen, a website column or an e-mail will ever show.
- Resize first, compress second. Resize with “Longest side” brings the whole set to the size you need; smaller images are not enlarged unless you allow it.
- One encode instead of two. Resize has its own “Save as” and “Quality” settings, so resizing and setting the quality can happen in a single run.
- When a hard limit counts, Target file size in Compress image can also reduce the dimensions, if you tick “Allow reducing the dimensions to reach the target size”.
- Keep the originals for printing and archiving: a reduced image cannot get its pixels back.
A typical case is sending photos by e-mail — the step-by-step version is in resizing photos for e-mail; for images on a website, see optimising images for your website.
Why you should not re-save a JPEG again and again
Every lossy save simplifies the image again, even at the same quality. Open a JPEG, make a small change, save it, repeat — and after a few rounds blocky areas, halos around edges and banding in skies appear. This is called generation loss. It also happens when images are forwarded and re-compressed by several services in a row.
- Edit from the original, not from a copy that has already been compressed.
- Compress once, at the end of your workflow.
- Use lossless steps where they exist. Remove metadata removes hidden data without re-encoding the pixels. Compress image with Lossless only re-packs a JPEG without simplifying it again.
How to check that nothing visible was lost
Your eyes have the final word, but two tools make the check quicker and more reliable:
- 1
Look at the original with Image info
Image info shows the format, the dimensions and megapixels, the file size, whether the compression is lossy or lossless and, for JPEGs, the estimated quality and the chroma subsampling. An image that is already heavily compressed will not get much smaller.
- 2
Compress a copy
Use Compress image with Automatic and Recommended as a start, then try Strong (smallest) if you want to go further.
- 3
Compare the two with Compare images
Compare images shows original and result with a slider, side by side, as an onion skin or as a difference view, with PSNR, SSIM and the share of changed pixels. An SSIM close to 1 means the images are very similar.
- 4
Check the critical areas at full size
Look at fine detail — hair, foliage, fabric, small text — and at smooth gradients such as a blue sky, where banding shows first. If you see a difference there, choose a lighter level.
Both tools are among the analysis tools; Compress image is with the optimisation tools.
Compressing a whole batch of images
Once you have found settings that work for one image, apply them to the whole set. Add all images to Compress image at once: the same settings apply to every file, and the run counts as one operation, however many files it holds — see processing many images at once. The results show the total size before and after; one click saves all of them as a ZIP file.
- “Save as” keeps the original format by default; “Smallest of WebP, AVIF and JPEG” tries those formats and keeps the lightest result for each image.
- “Metadata” keeps the metadata without location and device details by default. Metadata is rarely a large part of a photo's size, but it can reveal more than the picture — see what your photos reveal.
- Spot-check one or two results with Compare images, especially the images with the finest detail.
- Shop images need a few more steps, such as square crops — see preparing product photos for your online shop.
Frequently asked questions
Is JPEG quality 100 the same as lossless?
No. A JPEG saved at 100 is still lossy and usually much larger than at a high but lower setting. For pixel-exact results, use Lossless only or a lossless format such as PNG.
Does compressing an image reduce its resolution?
Not by itself: Compress image keeps the pixel dimensions. Only Target file size with “Allow reducing the dimensions” makes the image smaller in pixels — and only when the quality alone cannot reach the limit.
Why did my compressed image not get smaller?
Because it was already compressed efficiently. Compress image never returns a larger file: if it cannot save anything, you get the original back unchanged. Reducing the dimensions is then the remaining lever.
Can I undo a lossy compression later?
No. Detail that a lossy format has discarded is gone from that file; sharpening cannot bring it back. Keep the originals and compress copies.
Your images stay on your device throughout; per run, our server only learns which tool ran and whether it finished — details on the security page. To try it yourself, create a free account.
General information
This page is general information and marketing content, not professional advice. It simplifies how image formats and encoders work; results depend on the image, the format and the software that displays it. For demanding uses such as print or long-term archiving, check the recipient's requirements or consult a qualified professional.