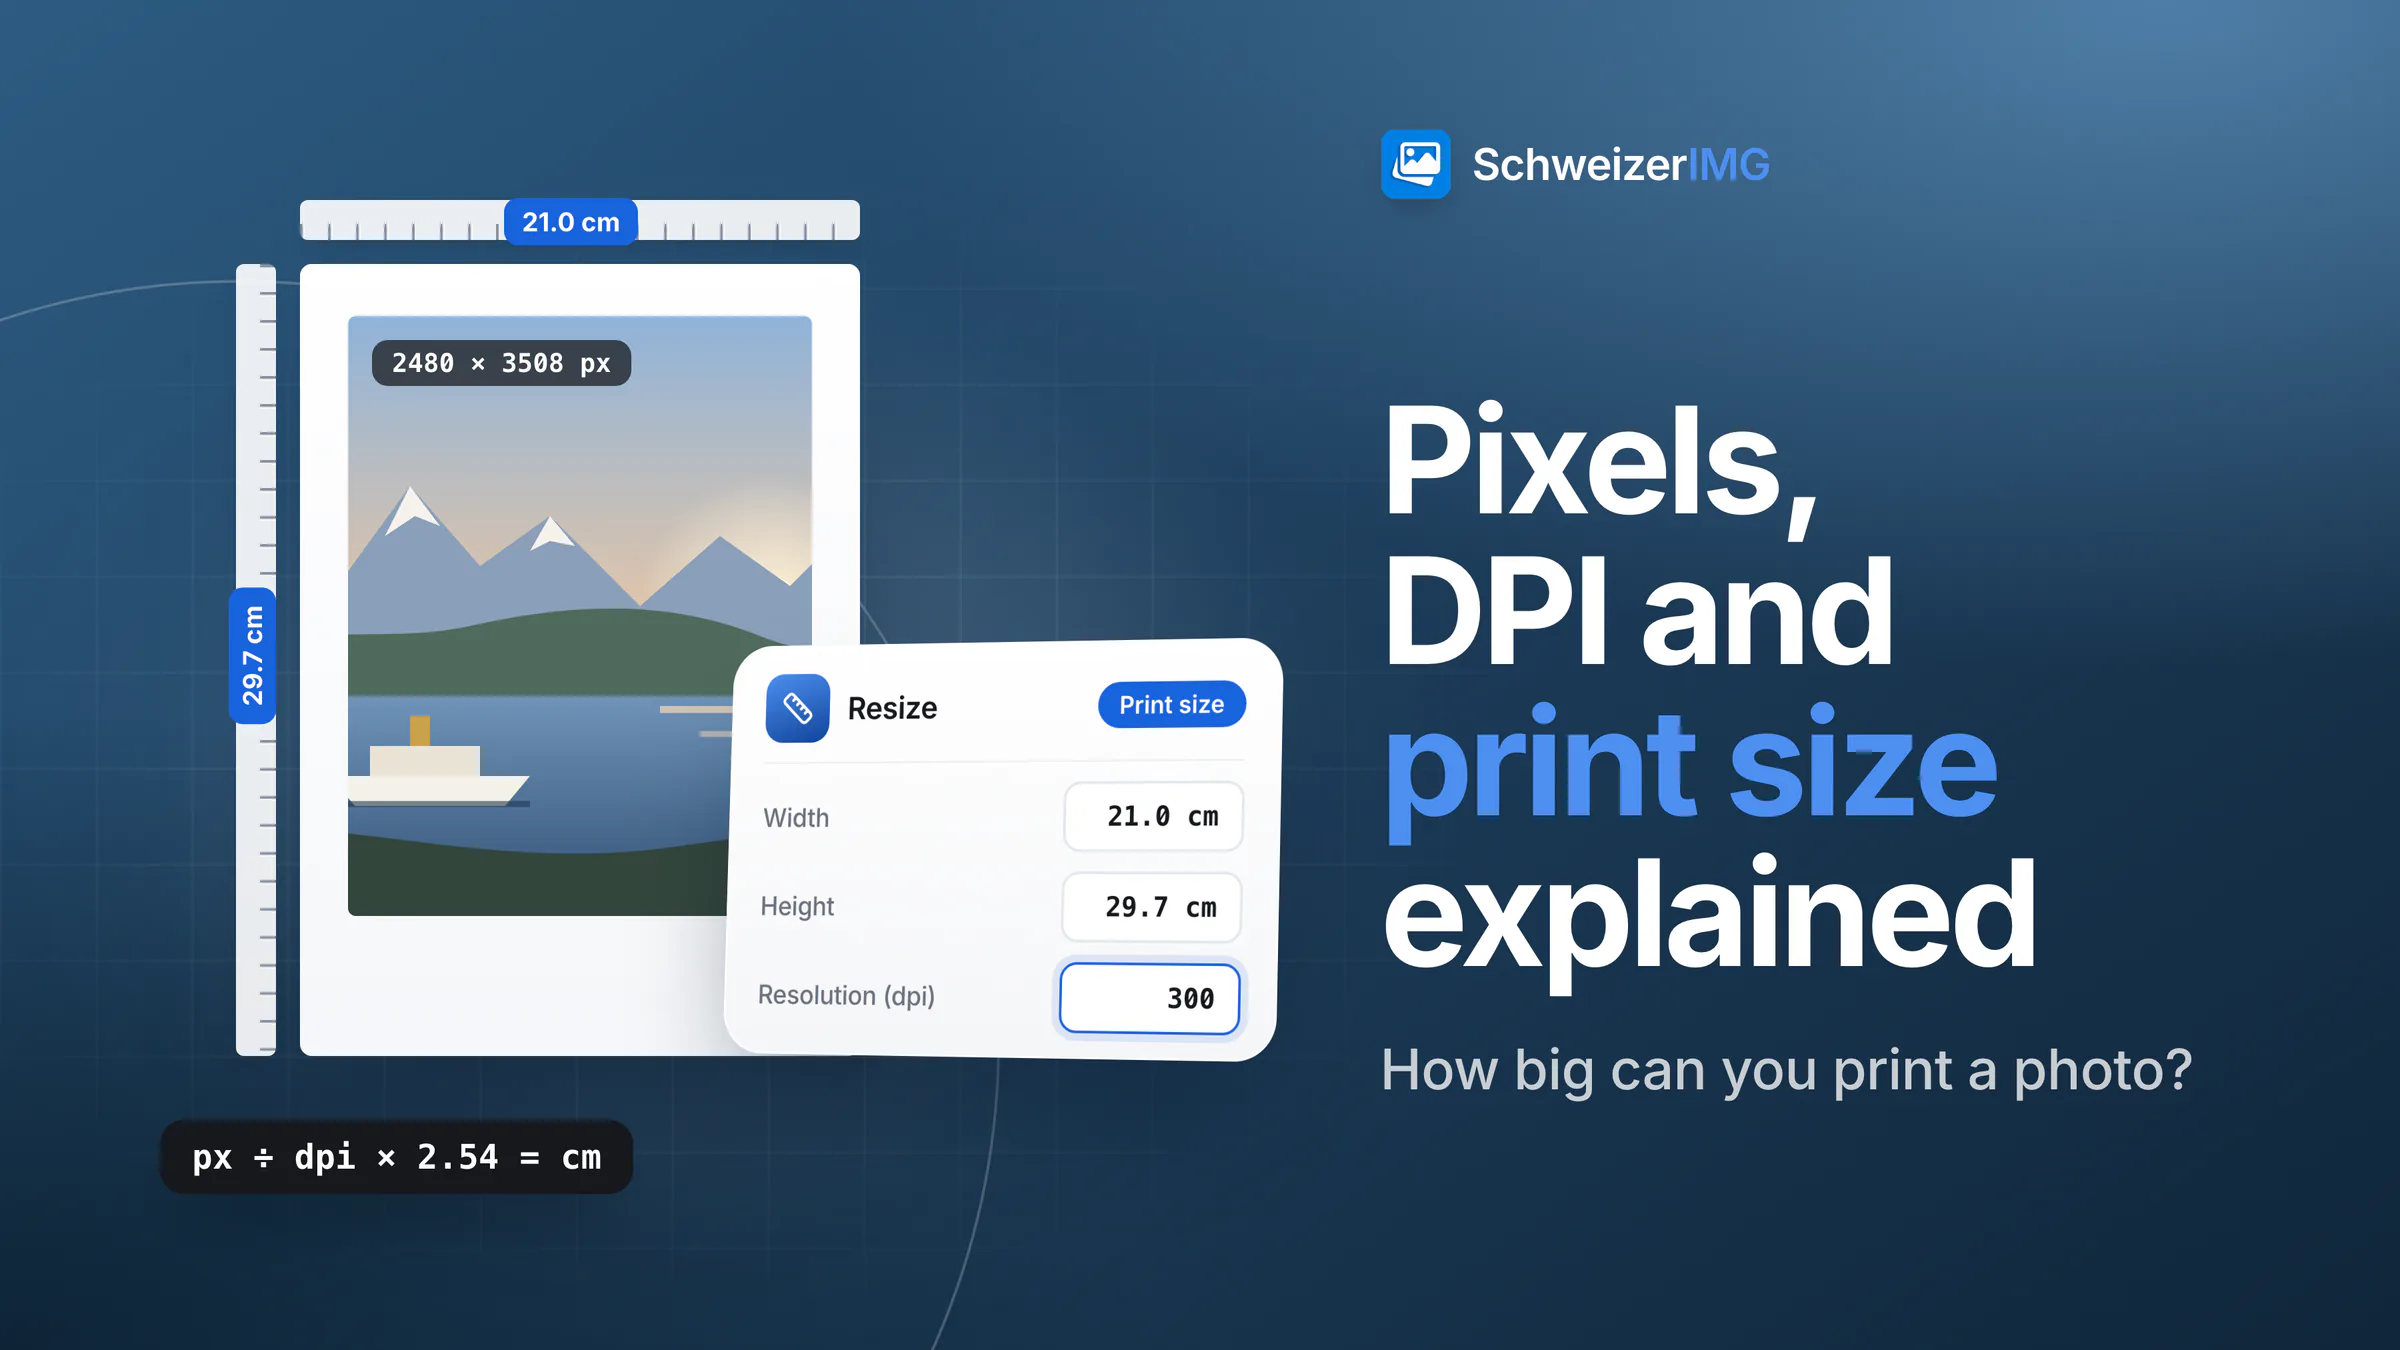
DPI vs pixels, in one sentence: pixels are what an image is made of; DPI only says how closely those pixels are packed when the image is printed. The print size follows from both — width in pixels ÷ DPI × 2.54 = width in centimetres. A photo 3,000 pixels wide prints 25.4 cm wide at 300 dpi, or 50.8 cm wide at 150 dpi.
That is also why changing the DPI number on its own does nothing to the picture: the pixels stay exactly the same. This article explains the terms, gives you the formula and a table for common Swiss print sizes, and shows how to prepare a photo for print in your browser.
Pixels, PPI and DPI: what is the difference?
- Pixels are the grid of coloured dots an image consists of. Its dimensions are width × height, for example 4032 × 3024 pixels for a typical twelve-megapixel phone photo. This is the only number that says how much detail the image holds.
- PPI (pixels per inch) says how many image pixels land on one inch — 2.54 cm — of paper. It turns pixels into a physical size.
- DPI (dots per inch) strictly describes the ink dots a printer places. In everyday use, in software and in file metadata, “DPI” almost always means PPI — this article follows that usage.
Why the DPI value in a file doesn't change the pixels
The resolution stored in a JPG or PNG is a note in the file: “print me at 300 pixels per inch”. Change it from 72 to 300 dpi and the image has the same pixels, the same detail and the same file content apart from that note. What changes is the size a layout program or a print shop places it at by default: the same 3,000 pixels become 105.8 cm wide at 72 dpi and 25.4 cm at 300 dpi.
Image info shows both values side by side: Dimensions in pixels and Resolution in dpi. Many files carry no resolution at all — then Image info shows no Resolution row, and most programs assume a default. Edit metadata changes only that note: its Print resolution (dpi) field sets a new value without re-encoding the pixels, so the image quality stays exactly the same. Which plans include Edit metadata is shown on the pricing page.
How to calculate print size from pixels
Two formulas cover every case. Print size in cm = pixels ÷ DPI × 2.54. And the other way round, when you know the print size and need the pixels: pixels = cm ÷ 2.54 × DPI. A typical phone photo of 4032 × 3024 pixels prints at about 34 × 26 cm at 300 dpi.
| Print size | Pixels at 300 ppi | Pixels at 150 ppi |
|---|---|---|
| 10 × 15 cm (photo print) | 1181 × 1772 | 591 × 886 |
| 13 × 18 cm | 1535 × 2126 | 768 × 1063 |
| A4 (21.0 × 29.7 cm) | 2480 × 3508 | 1240 × 1754 |
| A3 (29.7 × 42.0 cm) | 3508 × 4961 | 1754 × 2480 |
| 50 × 70 cm (poster) | 5906 × 8268 | 2953 × 4134 |
How many DPI do you need for printing?
There is no single correct value, only common practice. It depends on the viewing distance: the further away people stand, the fewer pixels per inch the eye can tell apart.
- Around 300 ppi is the usual target for prints viewed up close: photo prints, brochures, flyers, business cards.
- Around 150 to 200 ppi is often enough for larger prints looked at from a metre or so, such as a framed A3 photo on a wall.
- Posters and banners viewed from several metres work with less still; print shops sometimes accept around 100 ppi or below for very large formats.
- The print shop's specification comes first. If it asks for a specific resolution, size or bleed, follow it — these rules of thumb are only a starting point. Colours shift between screen and paper as well — see screen and print colours.
On screens, DPI doesn't matter at all. A browser, a phone or a presentation shows an image by its pixel dimensions; the dpi note is ignored. For the web, what counts is the width in pixels and the file size — see optimising images for your website.
Enlarging an image doesn't add detail
If a photo has too few pixels for the print you want, enlarging it creates more pixels — but they are calculated from the existing ones. The result is bigger and softer, not more detailed. SchweizerIMG has no AI upscaling that would invent detail; Resize resamples the pixels that are there. That is why its option Enlarge smaller images is set to Never (keep them as they are) by default: an image that is already smaller than the target is left as it is unless you choose Allow.
Better options: print smaller, choose a viewing distance that fits, or look for the original file. Photos sent through messengers or downloaded from a website are often reduced copies of the camera original.
Preparing a photo for print in your browser
- 1
Check what you have
Open the photo in Image info. Dimensions tells you how many pixels there are; with the formula above you know how large the photo prints at the resolution you want.
- 2
Crop to the paper's aspect ratio
A 10 × 15 cm print has the aspect ratio 2:3, which in Crop is the 3:2 or 2:3 preset; for A4 and A3 choose A4, A3… (portrait) or A4, A3… (landscape). Without cropping, the print shop crops for you or adds white borders. If you prefer borders of your own, Pad adds them to the same aspect ratio.
- 3
Resize to the print size
In Resize, choose Resize by → Print size, enter the width or height in cm, mm or in, and set Resolution (dpi) — 300 by default. The tool calculates the pixels and writes the resolution into the file: JPG and PNG store it in their own field, WebP and AVIF only in their metadata, which is left out when you set Metadata to Remove.
- 4
Only change the dpi note
If the pixels are already right and the print shop just wants a stated resolution, use Edit metadata → Print resolution (dpi) instead — no pixel changes.
- 5
Prepare several photos at once
The same settings apply to a whole batch in one operation, and tools can be chained — see processing many images at once and chaining tools.
Resize and Crop also offer a Swiss passport photo (35 × 45 mm, 300 dpi) preset. It sets the size only; whether a photo meets the official requirements for an identity document is a separate question. Large print sizes need many megapixels, and very large images depend on your device's memory — see large images and memory.
Frequently asked questions
Should I save images for the web at 72 or 300 dpi?
It makes no difference. Browsers ignore the dpi value and show the image by its pixel dimensions. The old “72 dpi for the web” rule dates from early screens and does not change file size or sharpness.
How many pixels do I need for an A4 print?
For about 300 ppi, 2480 × 3508 pixels. At 150 ppi, which is often enough for a print viewed from a distance, 1240 × 1754 pixels.
Does changing the DPI reduce image quality?
Changing only the stated resolution with Edit metadata does not: the pixels are not re-encoded. Resize in Print size mode is different — it calculates new pixel dimensions and saves the image again, like any resize.
Can I print a phone photo as a poster?
Often, yes. A twelve-megapixel photo of 4032 × 3024 pixels gives about 68 × 51 cm at 150 ppi — enough for a poster seen from a few steps away. Sharpness then depends more on focus and light than on the pixel count.
Ready to print? Start with the optimise tools and the transform tools, read about image formats and which one to choose in WebP vs AVIF vs JPEG vs PNG, or create a free account.
General information
This page is general information and marketing content. It simplifies printing: colour management, bleed, paper and the requirements of individual printers and print shops are not covered, and the resolution values are rules of thumb, not specifications. For a print job, follow your print shop's requirements.