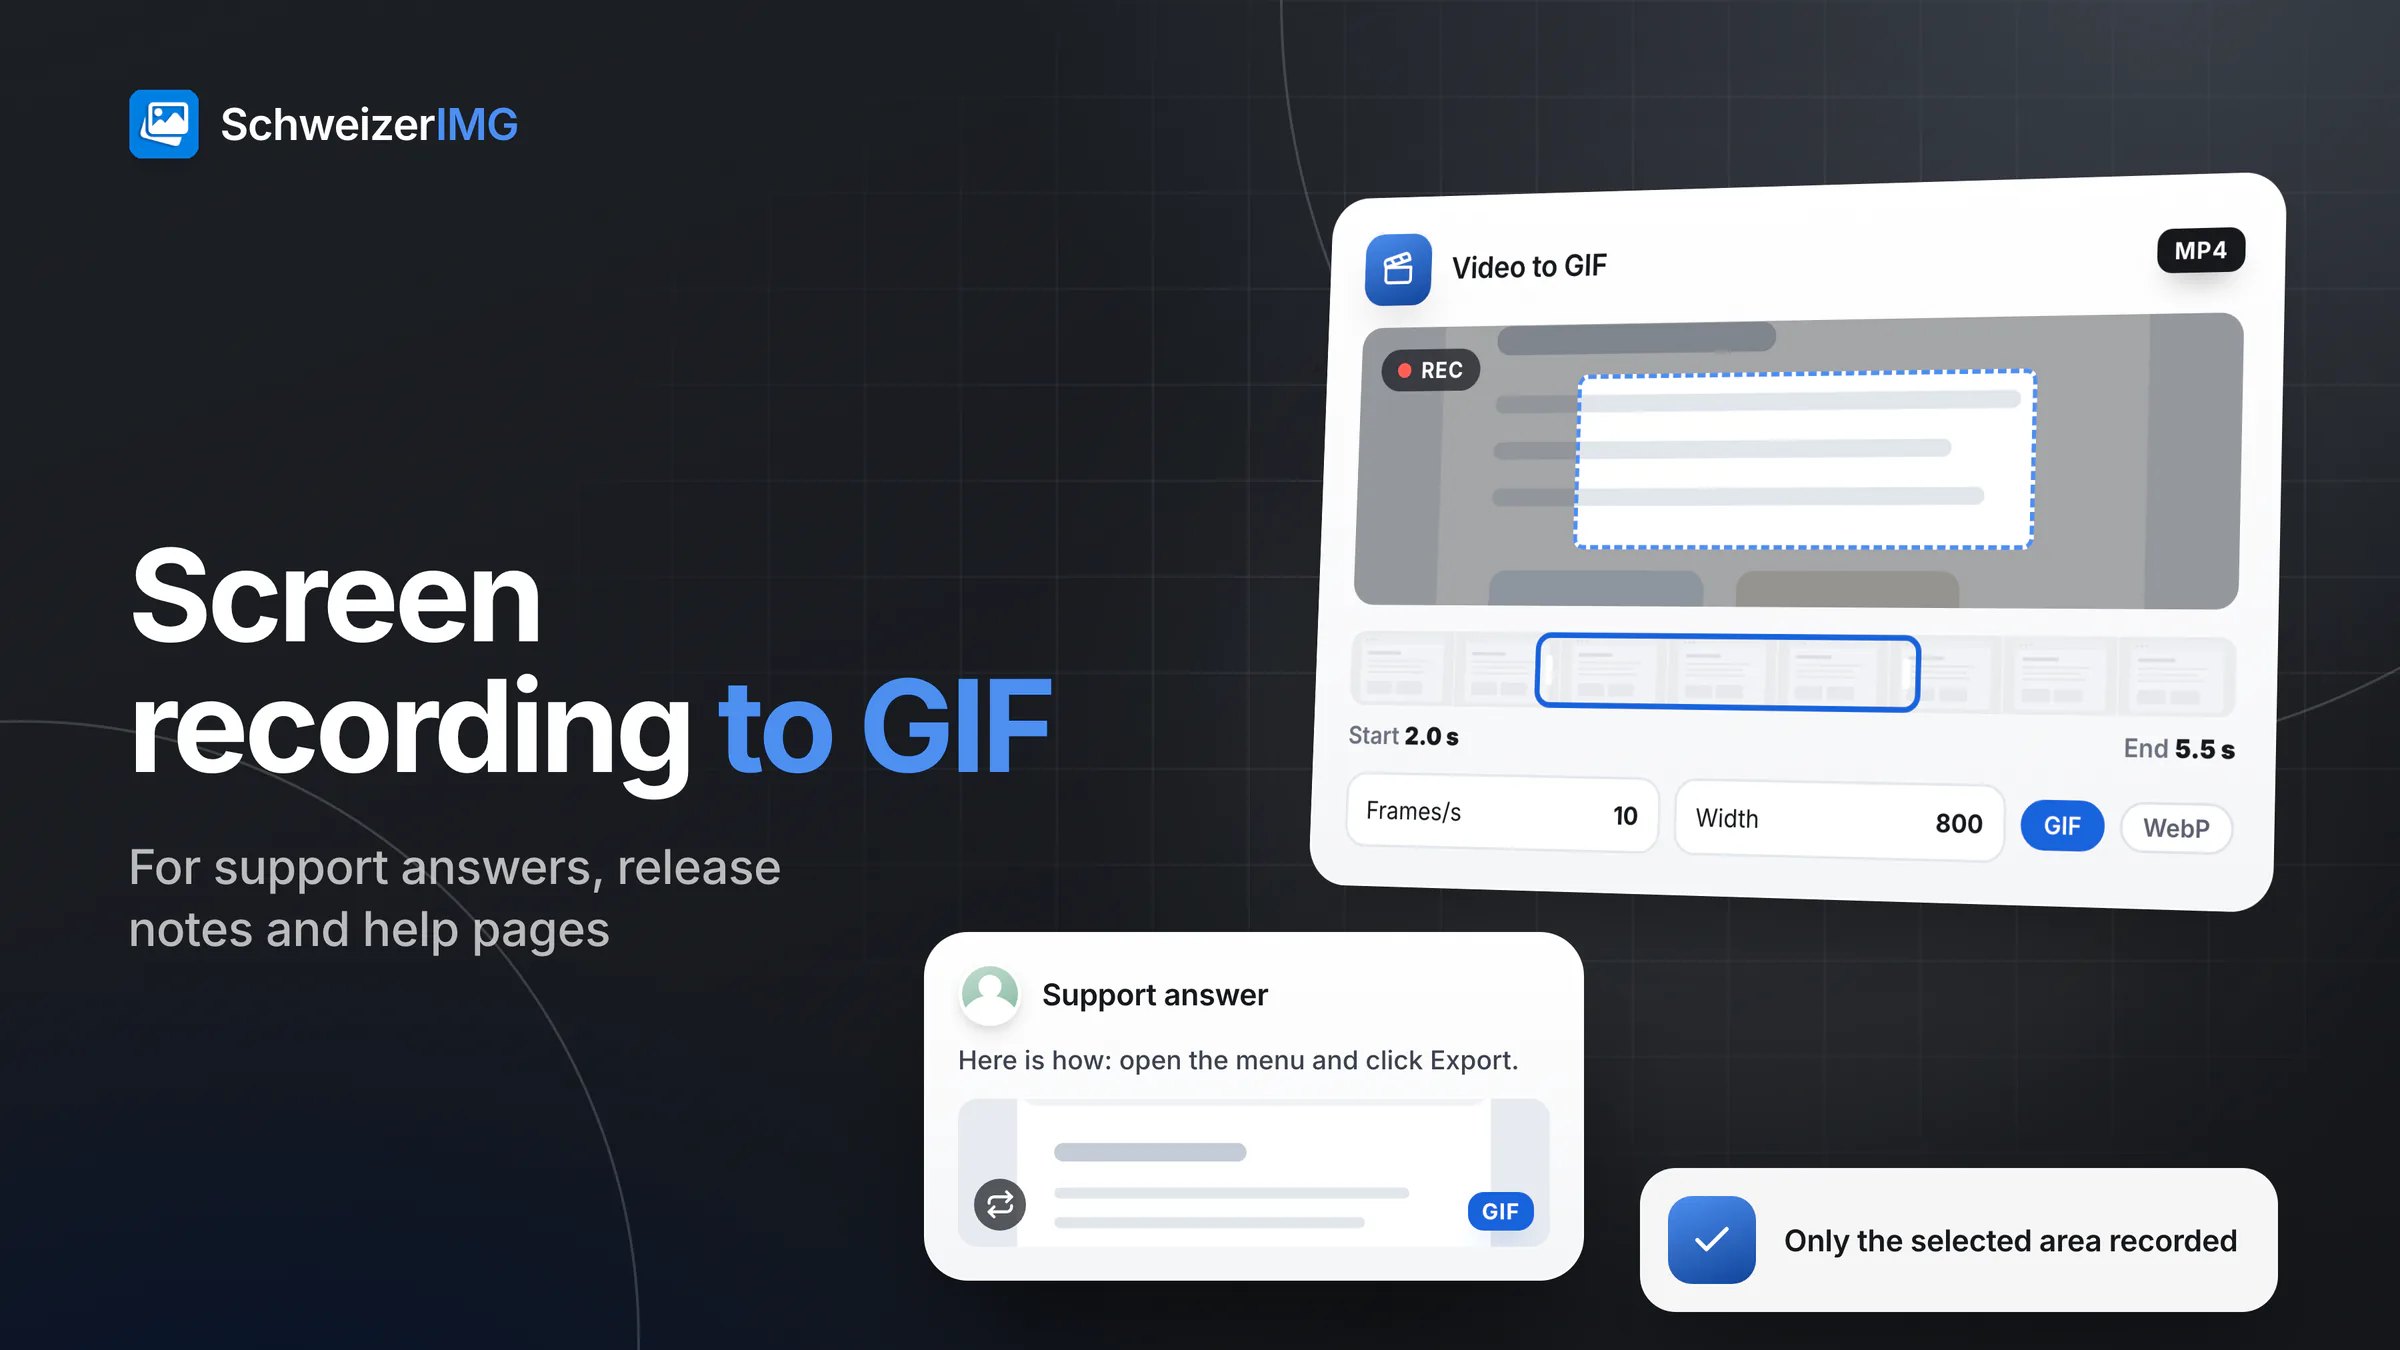
To turn a screen recording into a GIF, record only the part of the screen you need, open the clip in Video to GIF, choose the seconds to keep, about 10 frames per second and a width at which the text stays readable, and save it as GIF — or as animated WebP where the receiving system accepts it. Then trim and slim the result in GIF and animation editor and look at every frame before you send it.
A three-second loop of a click answers a support question faster than a paragraph of instructions, and it makes a release note concrete. This use case walks through the whole job in your browser: the recording and its frames are processed on your device and never uploaded. Why GIFs get heavy and every lever to make them smaller is explained in the guide to animated GIFs; whether a GIF is the right format at all is the subject of GIF vs video vs animated WebP.
Before you record: one action, one small area
- Use the recorder you already have. Most operating systems and phones include a screen recorder that can capture the whole screen, one window or a selected area, and save the result as a video file such as MP4 or MOV.
- Record an area, not the whole screen. Select the window or the panel where the action happens. A smaller recording gives a lighter GIF with readable text, and whatever lies outside the area — other tabs, a chat, the taskbar — is never in the file.
- Show one action per clip. Three to eight seconds for one step: open the menu, click, show the result.
- Use demo data. A test account with names such as Anna Muster and Muster AG keeps customer data out of the recording; the same house rules as for screenshots in documentation apply.
- Turn on do-not-disturb. A notification that slides in during the recording is in every frame it covers.
Screen recording to GIF: the workflow
Video to GIF takes one clip per run, and one run is one operation. The result can go straight on to the next tool with Continue with another tool, without downloading it in between — see continuing with another tool.
- 1
Open the clip
Open Video to GIF and add the recording. The tool reads MP4, MOV, WebM and other videos your browser can decode, and shows the frames at the start and end of the part you select.
- 2
Choose the part
Set Start and End in seconds, or drag the sliders, so the clip begins just before the click and ends on the result.
- 3
Set frame rate and width
Frames per second goes from 5 to 30; 10 is the default and suits clicks and menus, scrolling looks smoother with more. Left empty, Width takes the video's width but at most 480 pixels — too narrow for most interface text. Enter the width at which your help page or ticket shows the image instead.
- 4
Speed and plays
Speed at 150 % shortens waiting times without cutting anything. Plays sets how often the loop runs; 0 means forever, a few plays are calmer next to text.
- 5
Choose the format
Under Save as, choose GIF for e-mail, tickets and chat, WebP for help centres and websites, or PNG (animated: APNG). For GIF, Format settings → GIF → Colours controls the palette; interface recordings often need far fewer than 256 colours.
- 6
Trim and slim the result
Continue in GIF and animation editor: set the first and last frame kept, delete frames where nothing happens, crop in pixels, and use Drop every Nth frame if the file is still heavy. Text over every frame adds a short caption such as “Step 2: Export”.
Hiding customer data in a screen recording
The safest data is the data that was never recorded: demo accounts and a tight recording area beat any correction afterwards. If a recording still shows something it should not, there are two honest options:
- A fixed area — blur or cover it. Blur or pixelate also works on animated GIF and WebP files: the areas you mark are applied to every frame. That suits content that stays in place, such as a column of customer names beside the part you demonstrate. For text, Solid colour is the safest effect, and hidden pixels cannot be recovered from the exported file — see blurring faces and details.
- Something that moves — cut or record again. A marked area stays where you drew it. A list that scrolls, a pop-up or a moving window carries the data through the frame, so delete those frames with Frames to delete, crop them away, or record the clip again with demo data.
Before you send the file, step through the frame timeline in GIF and animation editor, or save every frame as an image with Extract frames. What a screen can give away in passing — address bars, notifications, recent-items lists — is listed in what screenshots reveal.
GIF or animated WebP: which output for which place?
| Where the animation goes | Save as | Why |
|---|---|---|
| Support answer by e-mail | GIF | Most e-mail programs show it inside the message; some show only the first frame, so it should make sense on its own |
| Ticket system, wiki, internal chat | GIF | Many accept images but no video, and preview GIFs inline |
| Release note in a newsletter | GIF, short and narrow | WebP and video are not reliable in e-mail programs |
| Help centre or your own website | WebP, or a video | Full colour and much smaller files; you control the page |
On your own pages, a short muted video is often lighter still; GIF to video converts the result to MP4 or WebM with the same timing.
Check the size before you send it
- Look at the file size in the result. Many e-mail providers limit attachments to a few to a few dozen megabytes.
- Too heavy? Cut before you compress. A shorter part, a lower frame rate, a narrower width and fewer colours each save more than any setting at the end.
The video tools need a recent browser
Video to GIF decodes the recording with your browser's built-in video support (WebCodecs). Recent versions of the major browsers work best; videos the browser cannot decode are refused, and video jobs run one at a time. The tool page says so before a run if your browser lacks the support — see supported browsers.
Frequently asked questions
Can I convert an MP4 or MOV screen recording to GIF without uploading it?
Yes. Video to GIF reads the clip from your disk and converts it in your browser; about the clip, our server learns only that the tool ran. How that works is explained in where my images are processed and on the security page.
Why is the text in my GIF unreadable?
Usually because of the width: left empty, Video to GIF uses the video's width but at most 480 pixels, so a full-screen recording shrinks a lot. Record a smaller area, or enter a larger width.
Does the GIF keep the sound of the recording?
No. GIF, animated WebP and APNG carry no audio. If the sound matters, keep the recording as a video.
Ready for the next support answer? Open the animation tools — which plans include Video to GIF is shown on the pricing page — or create a free account.
General information
This page is general information and marketing content, not legal or professional advice. It simplifies how screen recorders, browsers, e-mail programs and ticket systems handle video and animations, which differs between programs and versions and changes over time. Recordings of customer records can contain personal data under the Swiss Federal Act on Data Protection (FADP / nDSG); for your own situation, consult a qualified professional.